
SharePoint Backup
This chapter covers the following topics:
- Prerequisites
- Getting Started with SharePoint Backup
- Back up SharePoint Document Libraries
- Restore SharePoint
- Delete SharePoint Backup Content
- Add New Sites to Backup Automatically
Prerequisites
To back up SharePoint sites, site pages, site assets (including OneNote), document libraries, as well as Teams files stored in SharePoint, make sure you have a valid SharePoint/Teams/Shared Drives license. A SharePoint/Teams/Shared Drives license covers all SharePoint sites, including Microsoft Teams files for a tenant.
To learn more about licensing, refer to the Licensing
Getting Started with SharePoint Backup
By default, SharePoint Backup service is turned off. To enable SharePoint backup, click Configure Backup on the dashboard, then turn on SharePoint backup services.
To create the initial backup, click Save. The backup task is created and will be scheduled automatically. You can monitor the backup task processing using the Task Manager.
Once the initial backup is completed, you can view backed up contents.
Consider that storage limit for trial SharePoint/Teams/SharedDrives license is limited by 100 GB. You should purchase a commercial license to use more storage space. If enabled, SharePoint backup is performed automatically up to 3 times per day.
During every backup run the latest file version is backed up. There is no possibility to backup all file versions at one run
Back up SharePoint
To configure the backup settings for SharePoint sites, document libraries, Teams files, or to run a backup, select SharePoint in the horizontal menu bar. By default, SharePoint backup runs automatically up to three times per day.
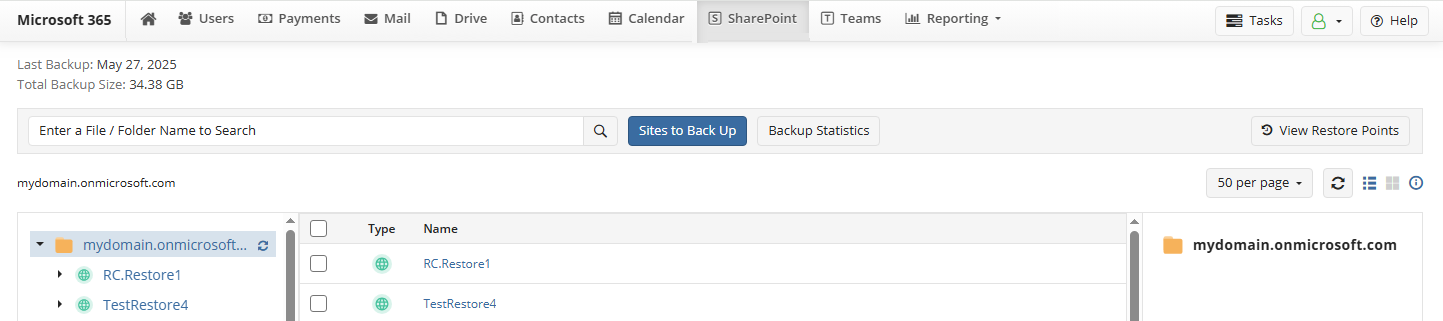
Click Sites to Back Up button to select what sites will be backed up. Save your selection.
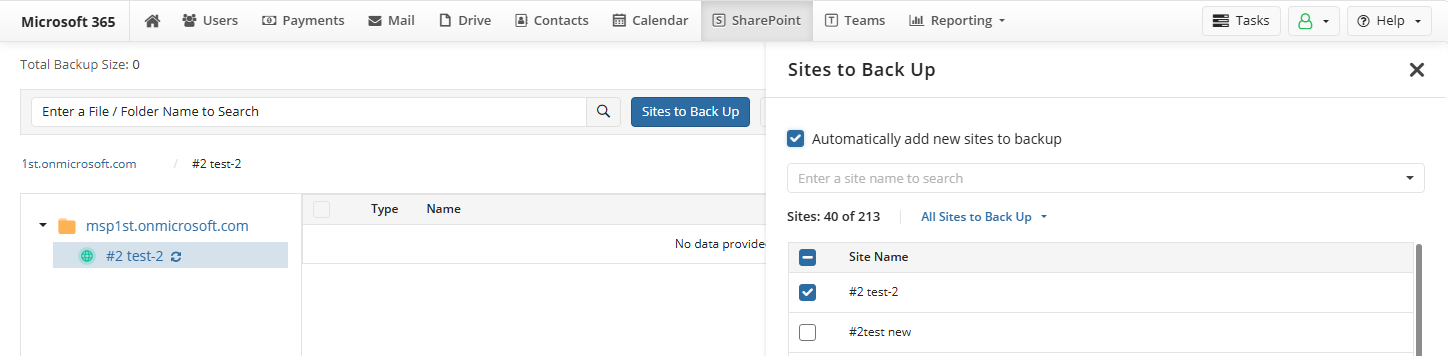
Add New Sites to Backup Automatically
You can add all new sites to backup automatically. To enable this feature, turn on the Automatically add new sites to backup slider. By default it is turned off.
Browse Backup Content
Administrators with Global Admin Access enabled can browse backup content to restore required content items for all domain users with enabled backup. Users if enabled can browse their own backups.
Select Restore Point
By default, the latest backup for the current date is shown. Starting with version 4.7, you can browse earlier restore points.
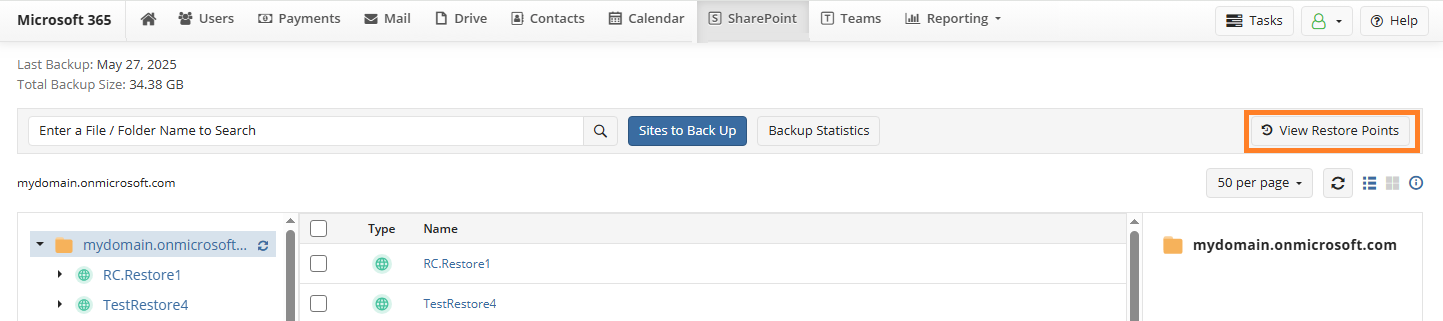
To view backups from another date:
- Click View Restore points on the horizontal menu.
- Select a date to switch to that restore point.
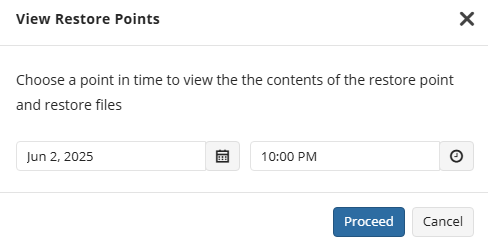
- You will be switched to the selected restore point. You’ll now see folders and documents (including earlier revisions) as they existed at the selected time and can perform restore operations for them.

Deletion is not supported in restore point view. To delete data, return to the current date
- To return to the latest backup, click Return to current date in the restore point banner.

Use Search
To find a file or folder, enter the full or partial filename and click the search icon. If a file was renamed, only the name relevant to the selected restore point will be searchable. Older names may still appear in file revisions, but can’t be searched directly. Type search expression and click the search icon to proceed. The search result appears in the right panel.

View Site Content
You can expand sites to see site content.
Use search to quickly find required sites or team files to backup. Type search expression and click the search icon to proceed. The search result appears in the right panel.
Delete SharePoint Backup Content or Team Files
Consider, deletion operation will not be supported for backup storages with enabled Object Lock (Immutability). To delete SharePoint content item from backup, select SharePoint in the horizontal menu bar.
- Select SharePoint content item to delete. You can find a necessary item by name or part of the name. Type the search expression and click the search icon. After the search is complete, you can see the search result in the right panel.
- Click the object and click Delete above the grid. In case of immutable storage Delete button is not visible.
- Enter alternate email password to confirm the deletion.
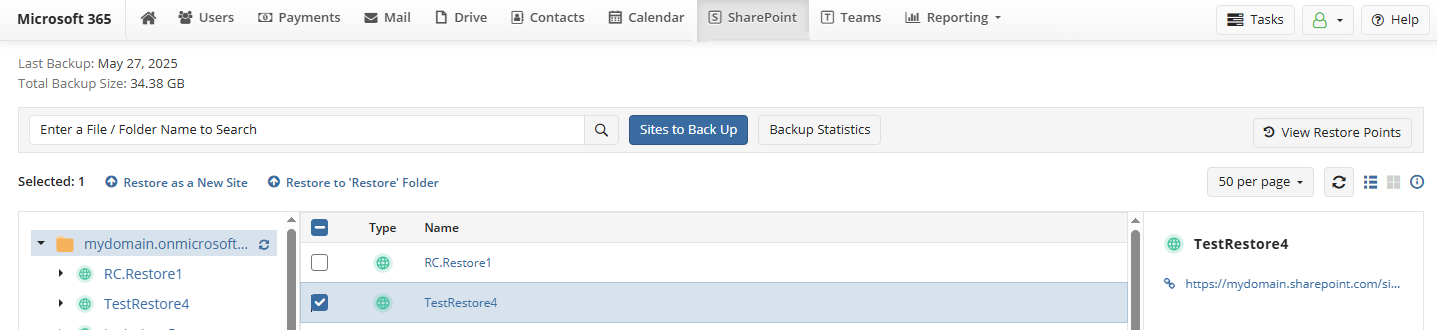
Restore SharePoint Sites
To restore a SharePoint site, select SharePoint in the horizontal menu bar. You can restore only one site at once.
- Click root site in the navigation tree. Site list appears in the middle pane.
- Click the required site in the middle pane and select restore action above the grid. The following options are available:
- If you want selected site to be restored as a new site, select Restore As New Site, enter a name for the new site and select a restore option for the site. The following options are available:
- Latest version. Select this option if you want to restore the latest version of your SharePoint sites.
- Point in time. Select this option to restore files and folders to their exact state as of a specific date and time.
- If you want SharePoint and Teams Files to be restored to Restore folder of the existing site, select Restore to 'Restore' Folder. Select existing site and a restore option for the document library. The following options are available:
- Latest version. Select this option if you want to restore the latest version of your SharePoint or Teams files.
- Point in time. Select this option to restore files and folders to their exact state as of a specific date and time.
- If you want selected site to be restored as a new site, select Restore As New Site, enter a name for the new site and select a restore option for the site. The following options are available:
- If any items were renamed, they will be restored using the names that were current at the selected point in time.
- Consider, if any of selected objects has no revisions after this point of time (was changed before this point of time), this object will not be restored.
You can monitor the restore task processing using the Task Manager.
Restore Deleted Sites
You can use Restore As New Site option to restore deleted site which is still in the backup. You can select the original site name as the target site name.
Restore SharePoint and Teams Files
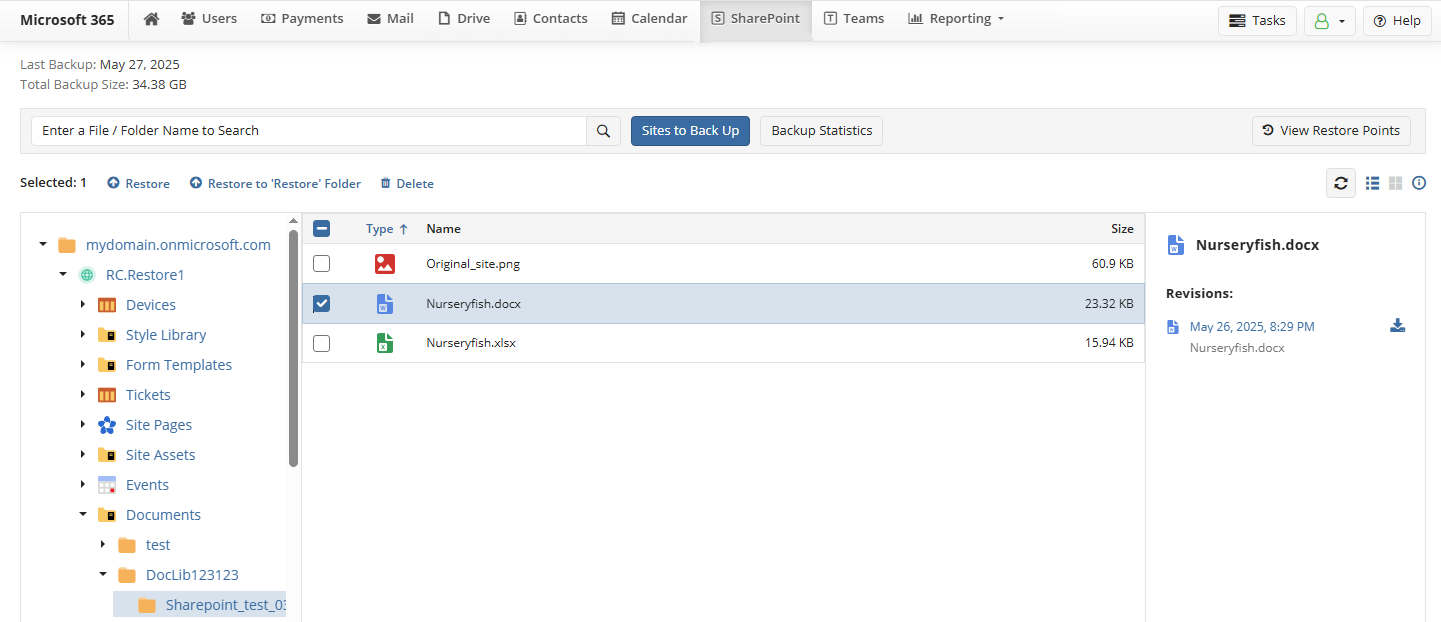
To restore a single item from SharePoint Document Library or Teams files located in teams' documents, select SharePoint in the horizontal menu bar.
- Browse the content to select an item to restore. You can find a necessary object by name or part of the name. Type the search expression and click the search icon. After the search is complete, you can see the search result in the right panel.
- Click the item and select restore action above the grid. The following restore locations are available:
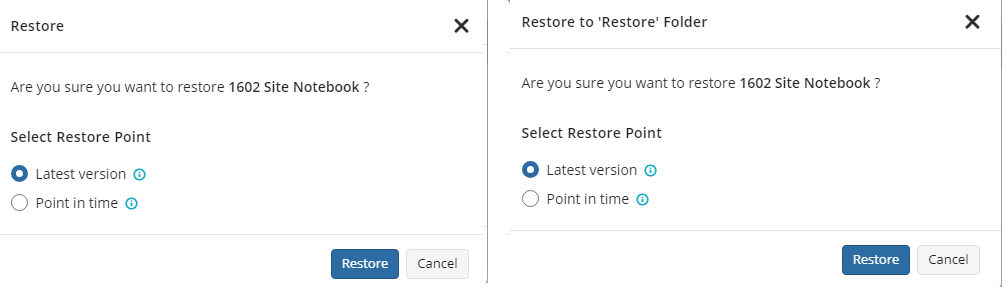
- If you want selected objects to be restored to the original location, select Restore. If the selected object exists in the original location, the restored copy will be saved with a suffix such as "restored_
<timestamp>". - If you want selected objects to be restored to Restore folder, select Restore to 'Restore' Folder. This restores SharePoint data back to SharePoint to the same SharePoint site and library to Restore folder.
- If you want selected objects to be restored to the original location, select Restore. If the selected object exists in the original location, the restored copy will be saved with a suffix such as "restored_
- Select a restore option. The following options are available:
- Latest version. Select this option if you want to restore the latest version of your SharePoint and Team Files
- Point in time. Select this option to restore files and folders to their exact state as of a specific date and time.
- If any items were renamed, they will be restored using the names that were current at the selected point in time.
- Consider, if any of selected objects has no revisions after this point of time (was changed before this point of time), this object will not be restored.
Also you can download selected file revision to your Downloads folder. To download required item, browse the backup content, then click the particular item to view its revision list. Revisions appear to the right. Click the required item revision to download it to the Downloads folder.
After the download is complete, the item appears in your Downloads folder.
You can monitor the restore task processing using the Task Manager.
Also you can download selected file revision to your Downloads folder. To download required item, browse the backup content, then click the particular item to view its revision list. Revisions appear to the right. Click the required item revision to download it to the Downloads folder.
- After the download is complete, the item appears in your Downloads folder.
Restore OneNote
To restore a full OneNote notebook from SharePoint assets, select SharePoint in the horizontal menu bar.
- Expand the root folder, find site containing the OneNote notebook, and then expand the site Assets.
- In the middle panel, browse the content to select an OneNote notebook to restore. You can find a necessary object by name or part of the name. Type the search expression and click the search icon. After the search is complete, you can see the search result in the right panel.
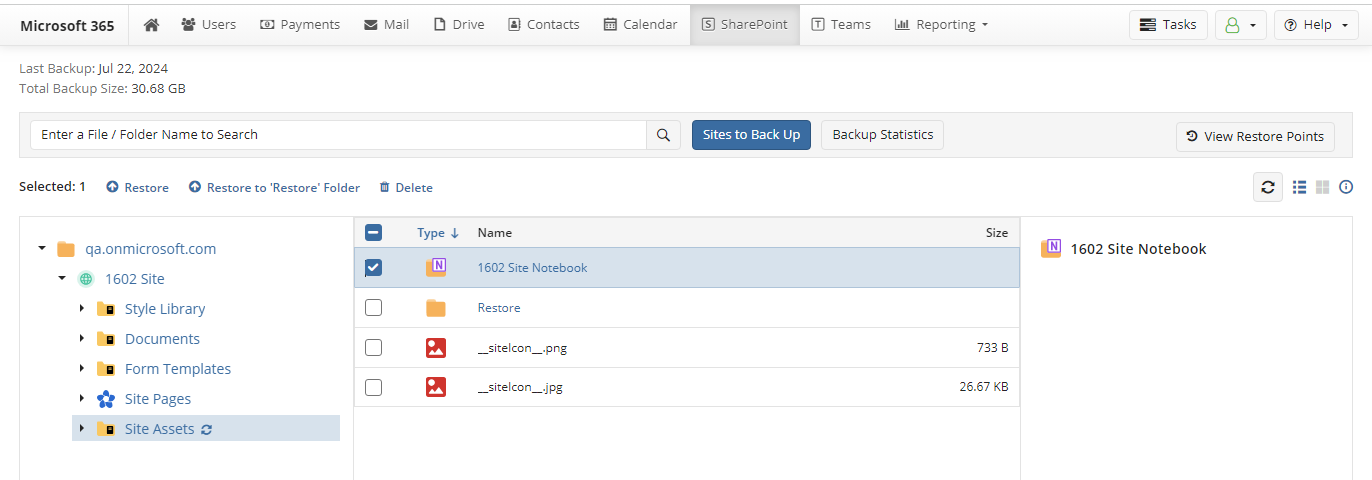
- Click the item and select restore action above the grid. The following restore locations are available:
- If you want selected notebook to be restored to the original location, select Restore. If the selected object exists in the original location, the restored copy will be saved with a suffix such as "restored_
<timestamp>". - If you want selected notebook to be restored to Restore folder, select Restore to 'Restore' Folder. This restores SharePoint data back to SharePoint to the same SharePoint site assets to Restore folder.
- If you want selected notebook to be restored to the original location, select Restore. If the selected object exists in the original location, the restored copy will be saved with a suffix such as "restored_
- Select a restore option. The following options are available:
- Latest version. Select this option if you want to restore the latest version of your OneNote notebook
- Point in time. Select this option to restore files and folders to their exact state as of a specific date and time.
- If any items were renamed, they will be restored using the names that were current at the selected point in time.
- Consider, if any of selected objects has no revisions after this point of time (was changed before this point of time), this object will not be restored.
You can monitor the restore task processing using the Task Manager.
Also you can download selected note revision to your Downloads folder. To download required item, browse the backup content, then click the particular item to view its revision list. Revisions appear to the right.
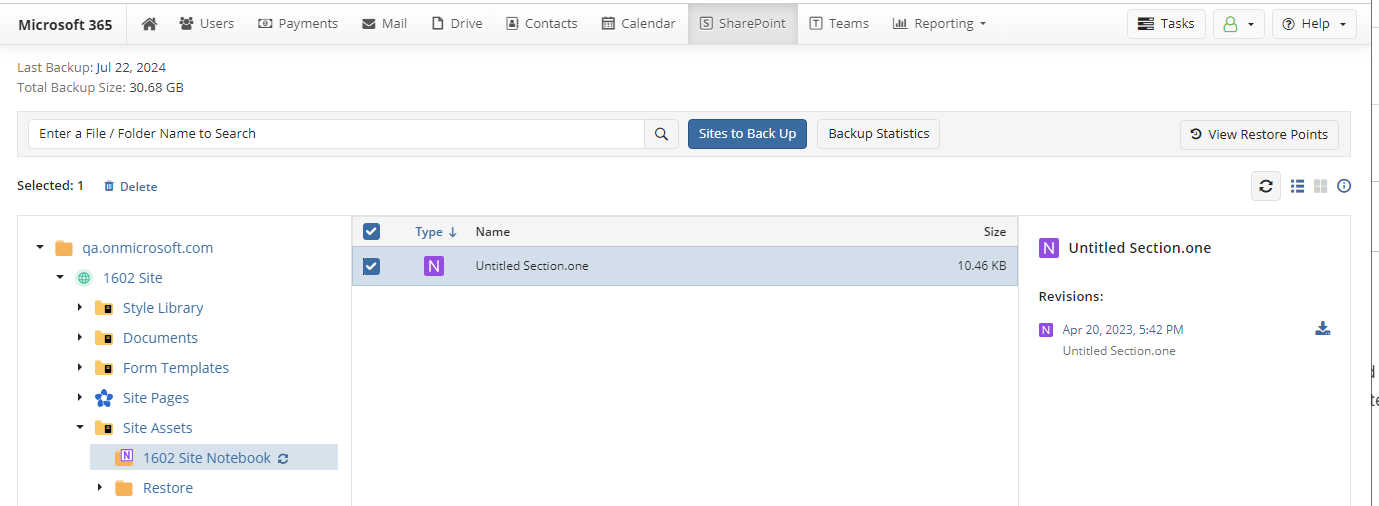
Click the required item revision to download it to the Downloads folder.
After the download is complete, the item appears in your Downloads folder.