Get Started with Microsoft 365 / Google Workspace Backup
This guide provides the essential steps to set up your Microsoft 365 / Google Workspace Backup. Follow these instructions to understand the setup process:
- Sign In to Backup for Microsoft 365 / Google Workspace
- Configure your administrative account
- Configure your subscription
- Configure your backup
Sign In to Backup for Microsoft 365 / Google Workspace
For Microsoft 365
- Open the dashboard using information provided to your registered email address.
- Choose your edition: Microsoft 365 Business or Microsoft 365 Personal. Be careful, if you use Microsoft 365 Personal, do not try to login using Microsoft 365 Business product edition button.
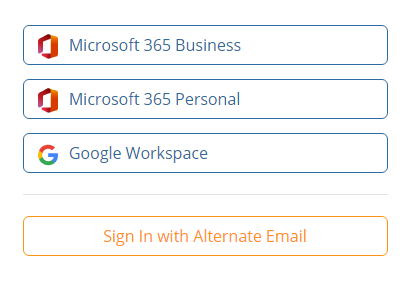
- Sign in using your Microsoft 365 credentials (for first-time setup, use the Global Administrator account). Refer to Dashboard chapter for detailed information.
For Google Workspace
Configure Trusts for Google Backup
Sign in to https://admin.google.com/ with your super administrator.
Click Main Menu > Security > Access and data control > API Controls. Requires having the Security settings administrator privilege. You can also use the direct link.
In App access control, click Manage Third-Party App Access.
Click Configure new app.

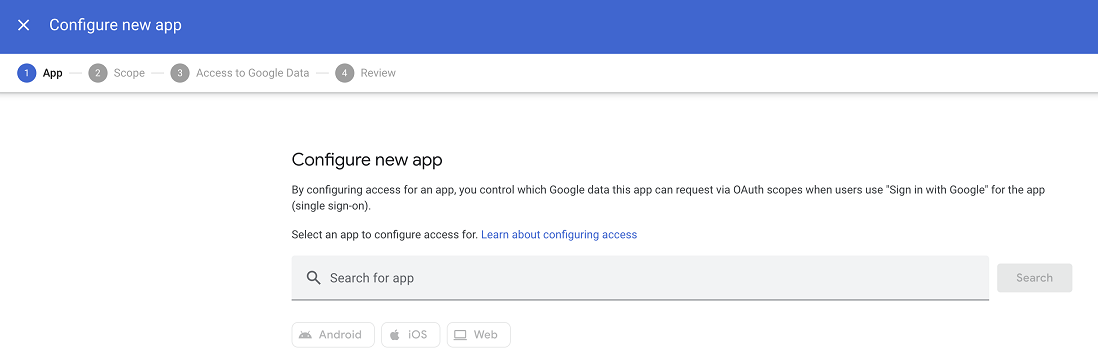
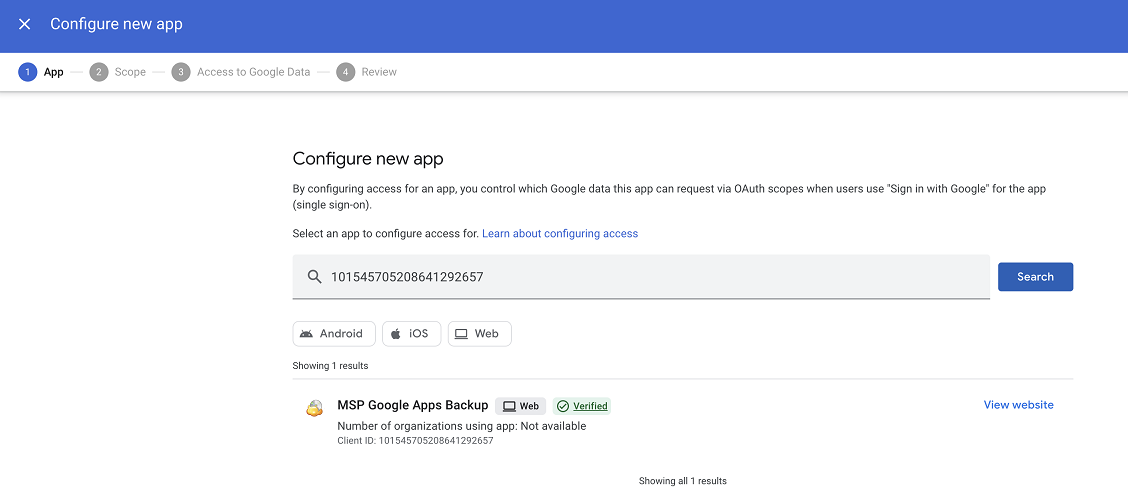
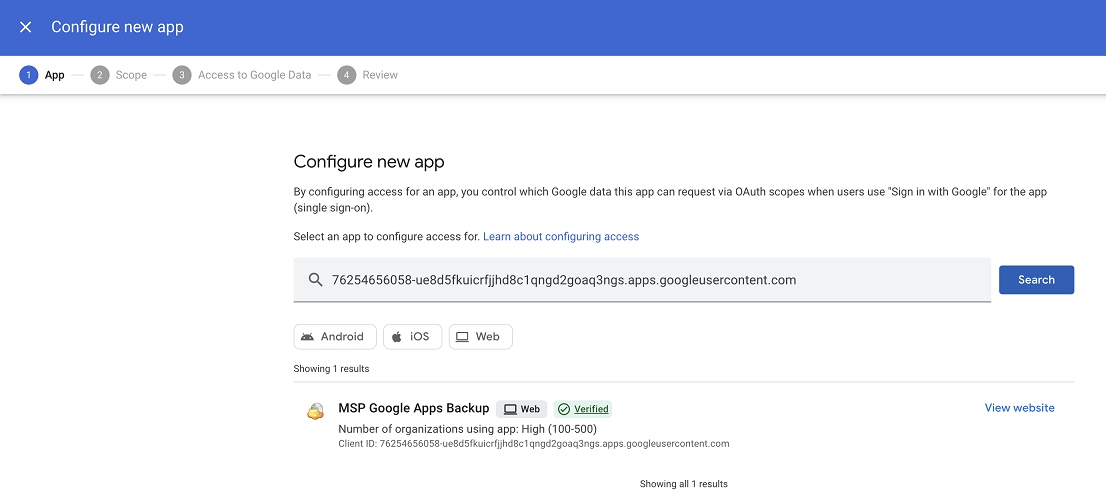
- Add two MSP Google Apps Backup web applications with the following OAuth Client IDs to the trusted applications:
- 101545705208641292657
- 76254656058-ue8d5fkuicrfjjhd8c1qngd2goaq3ngs.apps.googleusercontent.com
- Select who to configure access for.
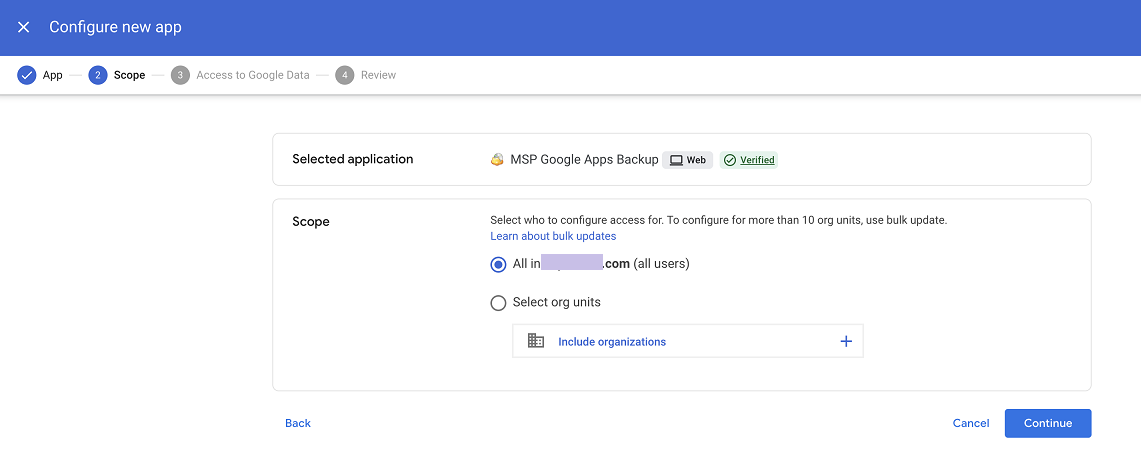
- Click Configure.
Install MSPBackups Application from GoogleApps
When you first log in to the Service Dashboard, you will be redirected to the GoogleApps Marketplace to install the MSPBackups Application to your domain. This application is required to manage permissions and operations for your Google Workspace backup. Once installed it appears between the installed applications.
You can also install the MSPBackups app by clicking the link
The MSPBackups application is not designed for login purposes as it isn’t tied to any specific account. Instead, it is only associated with the managed domain. For login access, please use the customized or default customer access links
Configure Your Administrative Account
- Open Dashboard.
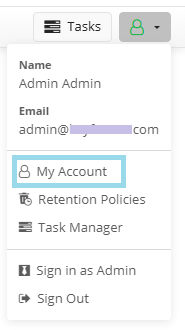
- In Account menu select My Account.
In Contact Info, provide your contact details.
Add an alternate email in Set up alternate email area. A strong password for alternate email is required. We will send an email message to specified alternate email for verification purposes. Please confirm it via the verification link sent.
It is recommended to turn on Two-Factor Authentication (2FA).
In Backup destination tab, add your backup storage destination or select one of storage destination provided by MSP360:
- MSP360 (Amazon S3). To properly create a bucket with enabled SSE-C for Microsoft 365 or Google Workspace backups, refer to the following KB article.
- MSP360 (Wasabi)
Fill in required details and test the connection. You will see Not verified unless your access is confirmed.
You cannot change the selected backup storage later without deleting your backup
- Once you are done with editing, click Save and confirm your settings.
Refer to Manage Storage article for details
Note on Long-Term Storage Usage
Long-term (cold) storage classes are not supported. If you make a decision to use these classes, you are responsible for all transitions and selection of long-term storage classes. We also are not responsible for manipulations with the storage by the user and for the costs associated with these operations.
- Long-term storage classes (e.g., S3 Glacier, Azure Archive) may result in extended retrieval times (up to 48 hours for AWS Glacier).
- Retrieval costs may apply. The user assumes responsibility for selecting long-term storage classes and associated fees.
Manage Licenses
The product includes a 15-day free trial. After the trial period, a subscription is required for each domain user to continue backup.
For Business Edition, verify available licenses under Users. Choose a subscription plan from Payments:
- Premium 1 month
- Premium 6 months
- Premium 1 year
Select the required plan and click Subscribe to proceed with payment. You can request a discount for non-profit, educational projects.
Refer to Licensing for details.
Add Users for Business Product Edition
- In the horizontal menu bar, select Users.
- In the actions menu to the right click Sync Domain to see the up-to-date list of users.
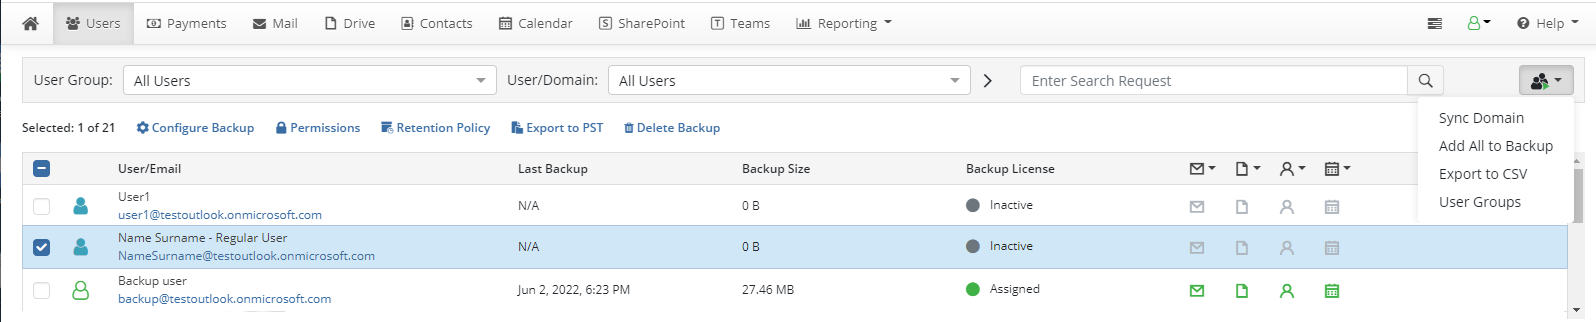
- Select the users you want to add to the backup and restore routines
- Enable backup for the selected users on the pane to the right.
- Click Add All to Backup to add all enabled users to the backup and restore routines.
Configure Your Backup
You can configure your backup services using Configure Backup button.
- In the main menu, switch to the home tab.
- Click Configure Backup button.
- Select the services to be backed up. By default, the backup in turned off for all services.
- Sign in to the product as admin.
- Grant required permissions for the application, as requested by Microsoft Office or Google.
By default, the backup is scheduled to run at least twice a day automatically.
Backing Up By Service
Backup for Microsoft 365 / Google Workspace enables backup jobs separated by service.
On home page of the Dashboard, click Configure Backup. Select the services to be backed up, then click Save.
To apply backup configuration to all enabled users, select Apply to enabled users checkbox below the backup configuration area
Your basic backup setup is now complete. The backup is scheduled to run at least twice a day automatically.