Back Up Calendar
This chapter covers the following topics:
Prerequisites
To perform Calendar backup, make sure Calendar backup is enabled. You should have a valid subscription, which should include all additional users with calendar backup.
To learn more about licensing, refer to the Licensing chapter
Getting Started with Calendar Backup
To enable Calendar backup, click Configure Backup on dashboard homepage and turn on Calendar backup services. Select Apply to enabled users to create Calendar backup for all enabled users.
To run the initial backup, click Save. You can monitor the backup task processing using Task Manager.
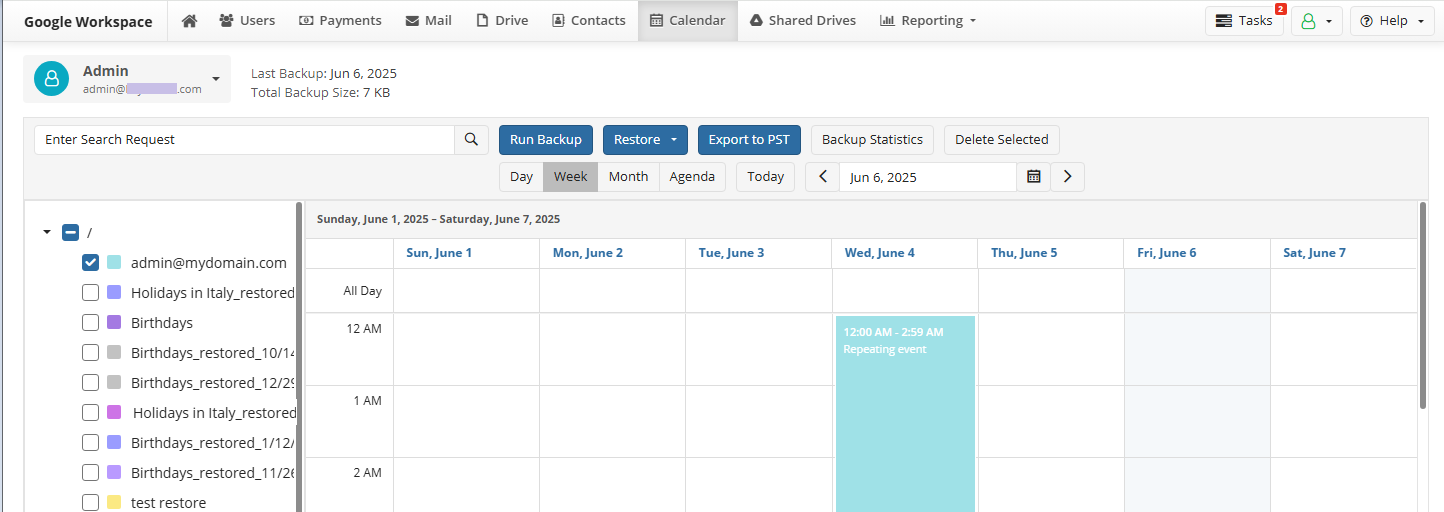
Once the initial backup is completed, you can view a list of the backed up content. The list of backed-up calendars appears on the left panel. To view the required calendar, select it. You can search for the required calendar. Use Day, Week, Month, Agenda, or date controls to access specific events.
You can export selected calendar events or calendars to .PST file, as described in Export to PST chapter.
Back up Calendars
If enabled, Calendar backup is performed three times per day automatically.
You can create an urgent backup job for all or selected calendars.
Create Backup Jobs
You can back up specific calendars.
To back up only selected calendars, perform the following:
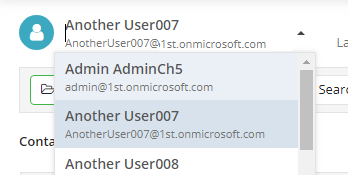
- Select the required user.
- Select the required calendar(s)
- Click the Run Backup button. You will be notified about the backup job creation event.
To view the progress of the created backup job, open the Task Manager.
Restore Calendars
To restore your Google Calendars, select Calendar in the horizontal menu bar.
The list of backed-up calendars is on the left panel. To view the required calendar, select it. The following restore options are available:
- Restore All Calendars
- Restore Selected
To start the restore, expand Restore and select the restore option. The restore task starts automatically.
You can monitor the restore task processing using the Task Manager.
Restore Event Revision
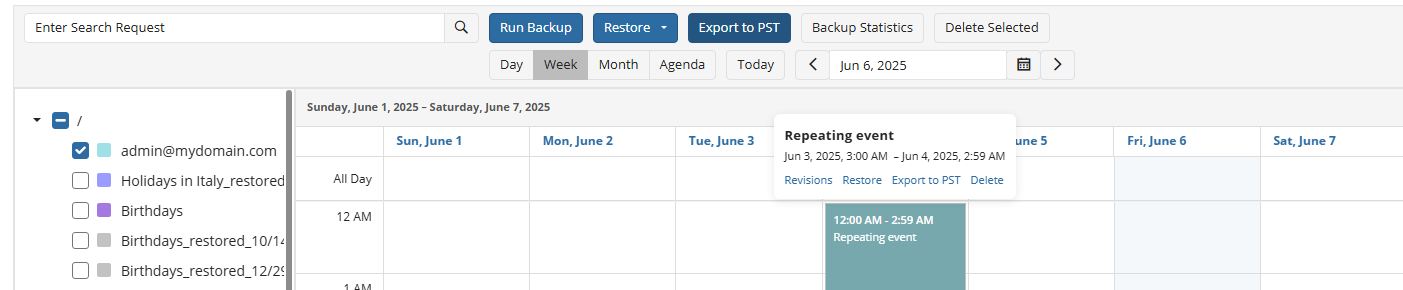
To restore a specific event revision, perform the following:
- Select the event and right-click it to see the event properties
- Click Revisions
- Select the revision you want to recover and click Restore.
Delete Calendars
To delete selected calendars, perform the following:
- Select the required calendar(s)
- Click Delete Selected
- Provide your alternate email password to confirm the deletion.