Export to PST
Export to PST cannot be considered as a restore job, it is recommended to use regular restore instead.
To avoid any issues with a PST processing, exported PST file size should not exceed 10 GB (10,000.00 records). We cannot ensure that the export task will complete successfully for larger PST files. It is also recommended to enable the Direct PST Download setting on the General tab of the Account menu
For the trials the scope of export is limited to 50 items per service.
All PST files are compressed and encrypted in the user cloud storage account. These files will be decrypted and decompressed under download from Management Console. Downloaded PST files can be stored as a local backup of your cloud data and used in offline mode.
Export to PST for Selected Users
To export complete copy of backed up mail, calendars, and contacts for selected users to a PST file, proceed as follows:
On the Users page select the required user or multiple users. Consider that a separate export task will be created for each user, and, accordingly, a separate PST file will be created for each user.
Click Export to PST above the grid
On the side panel select the scope to be exported for the selected user

- Select Mail to export Mail. You can specify the custom period to limit the scope of export. To export selected mail messages or folders to Fine-Tuned Export for Mail
- Select Contacts to export contacts. To export selected contacts or folders refer to Fine-Tuned Export for Contacts
- Select Calendar to export calendars. To export selected events or calendars refer to Fine-Tuned Export for Calendar
You will be notified about the export job creating event.
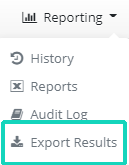
You can monitor the export task processing using the Task Manager. Use Export Results button to access exported PST files.
After the export is complete, you will be notified by email. You can find links to download exported PST files on Reporting > Export Results.
Download Exported PST File
You can download the exported PST file file using your product dashboard. Navigate to the Reporting > Export Results and click the download icon in the PST file entry to download the exported file. In case the PST file is protected by password, you can also click the link icon to copy the path to the folder in backup storage where the exported PST file is stored.

Export Results grid will be displayed:

You can use download icon to download required PST file or link icon to copy path to the folder in the backup storage, where exported PST files are kept.
You can configure retention policy for exported PST files with Keep PST Files For setting as described in Account Settings.
If no retention policy is configured, exported PST files will have no storage period limit. Consider to remove exported PST file after download is complete in this case.
Delete Exported PST File
You can delete the exported PST file if the file is no longer needed.
Navigate to the Reporting > Export Results and click the delete icon after the download link in the task entry to delete exported PST file.
Fine-Tuned Export for Mail
Item-Level Export
You can export to PST specific messages in specific mail folder of the specific user. To back up only selected mail messages, perform the following:
- On the Mail, select a required user, then select the desired folder. By default, the Inbox folder is displayed, the rest of the mail folders are sorted according to the Exchange Online order. You can type the part of the folder name to speed up navigation. This search works on the fly, you can speed up the processing of the long folder lists.
- The list of messages might be very long and hard to manage. Use Enter Search Request box above this list to look for items matching the certain criteria.
- Select mail messages you want to export
- Click the Export to PST. You will be notified about the export job creating event.

To view the progress of the created export job, open the Task Manager.
After the export is complete, you will be notified by email. You can find links to download exported PST files on Reporting > Export Results.
Folder-Level Export
You can export to PST specific mail folders of the specific user. To back up only selected the mail folder, perform the following:
- On the Mail, select a required user, then select the desired folder. By default, the Inbox folder is displayed, the rest of the mail folders are sorted according to the Exchange Online order. You can type the part of the folder name to speed up navigation. This search works on the fly, you can speed up the processing of the long folder lists.
- Click Folder, than click the Export Folder to PST. You will be notified about the export job creating event.

To view the progress of the created export job, open the Task Manager.
After the export is complete, you will be notified by email. You can find links to download exported PST files on Reporting > Export Results.
Fine-Tuned Export for Contacts
Item-Level Export
You can export to PST specific contacts in specific folder of the specific user. To back up only selected contacts, perform the following:
- On the Contacts, select a required user, then select the desired folder.
- The list of contacts might be very long and hard to manage. Use Enter Search Request box above this list to look for items matching the certain criteria.
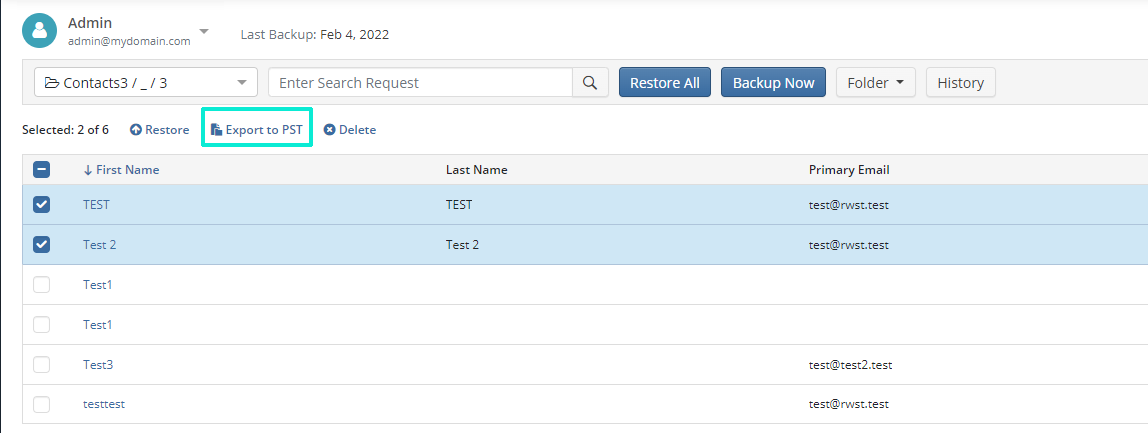
- Select contacts you want to export
- Click the Export to PST. You will be notified about the export job creating event.

To view the progress of the created export job, open the Task Manager.
After the export is complete, you will be notified by email. You can find links to download exported PST files on Reporting > Export Results.
Folder-Level Export
You can export to PST specific folders of the specific user. To back up only selected the mail folder, perform the following:
- On the Contacts, select a required user, then select the desired folder. By default, the Inbox folder is displayed, the rest of the mail folders are sorted according to the Exchange Online order. You can type the part of the folder name to speed up navigation. This search works on the fly, you can speed up the processing of the long folder lists.
- Click Folder, than click the Export Folder to PST. You will be notified about the export job creating event.

To view the progress of the created export job, open the Task Manager.
After the export is complete, you will be notified by email. You can find links to download exported PST files on Reporting > Export Results.
Fine-Tuned Export for Calendar
Item-Level Export
You can export to PST specific messages in specific mail folder of the specific user. To back up only selected calendar events, perform the following:
- On the Calendar, select a required user, then select the desired calendar event.
- The list of calendar events might be very long and hard to manage. Use Enter Search Request box above this list to look for items matching the certain criteria.
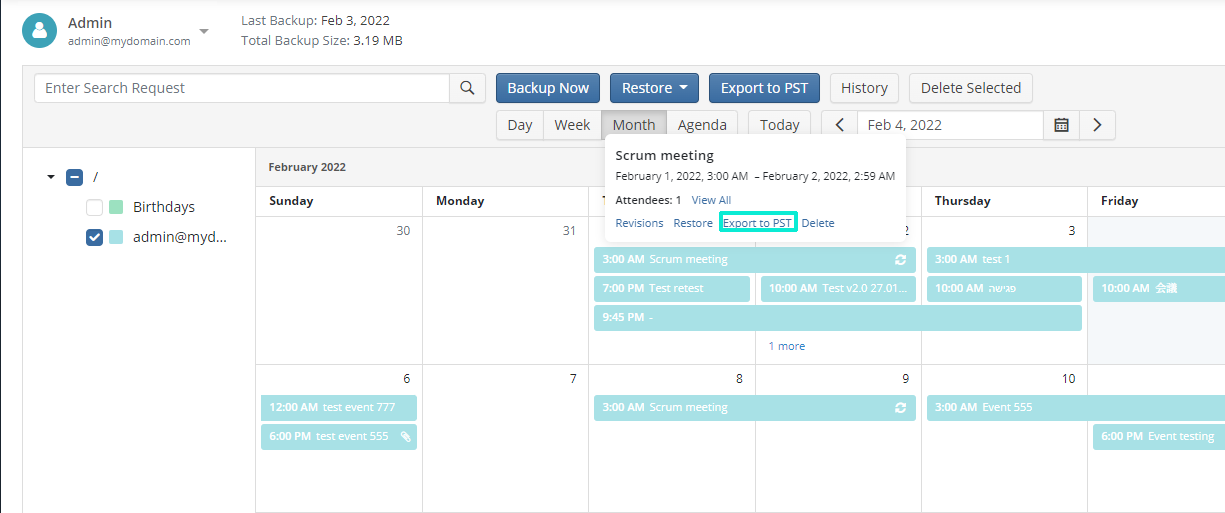
- Select calendar event you want to export and click on it
- Click the Export to PST. You will be notified about the export job creating event.

To view the progress of the created export job, open the Task Manager.
After the export is complete, you will be notified by email. You can find links to download exported PST files on Reporting > Export Results.
Calendar-Level Export
You can export to PST specific calendars of the specific user. To back up only selected the calendars, perform the following:
- On the Calendar, select a required user, then select the desired calendars
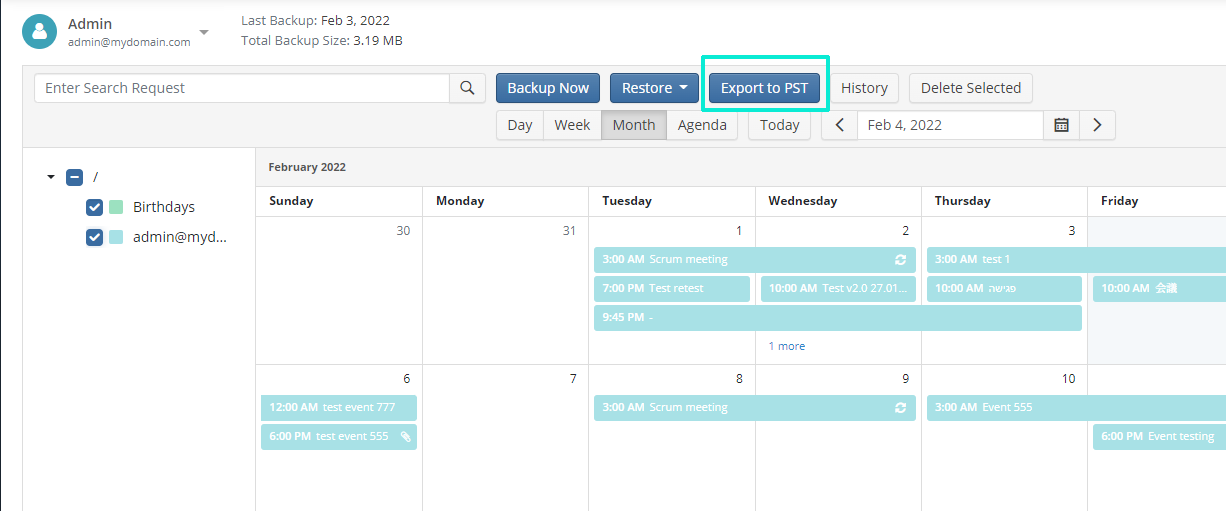
- Click Export to PST button. You will be notified about the export job creating event.

To view the progress of the created export job, open the Task Manager.
After the export is complete, you will be notified by email. You can find links to download exported PST files on Reporting > Export Results.