Restore Wizard
Starting with the Backup Agent version 8.1.1 for Windows, users must have administrator-level access to create or edit the restore plans
To restore an image-based backup or selected objects from disk image, click Restore in the main menu.

Select Backup Storage
Select a source cloud or local storage containing the backup to restore.
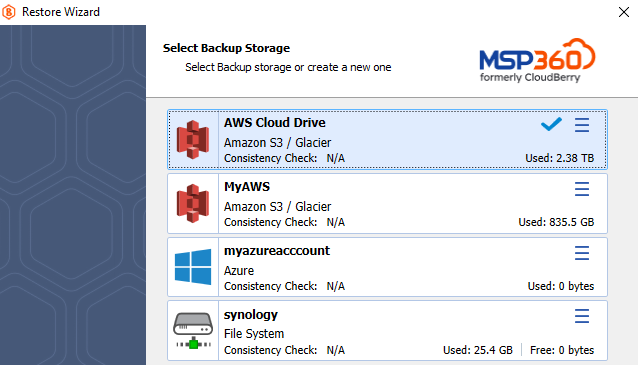
To add a new storage account, click Add new storage account. Click Next.
Plan Name
Specify whether you need to save the restore plan after completing the wizard, or run the restore procedure only once (without saving this plan and running it automatically on schedule).
You can change the default plan name, if needed.
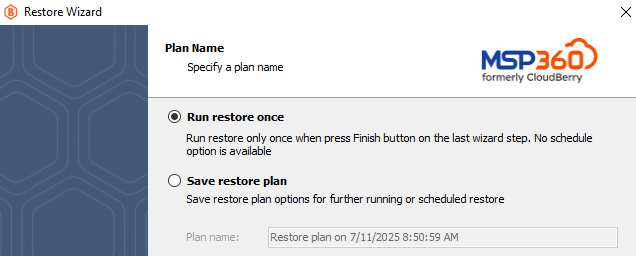
Click Next.
Type of Data
On this wizard page, you choose what kind of data you need to restore.
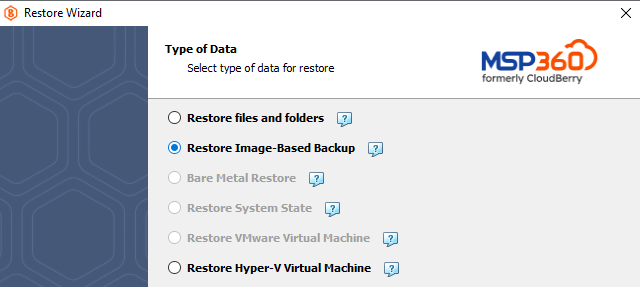
All available restore options are active. To proceed with restoring an image-based backup, select the Restore Image-Based Backup option.
Click Next.
Select Backup to Restore
On this wizard page, you choose what backup plan you want to restore.
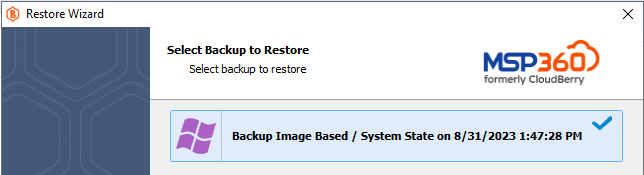
Click Next.
Restore Point
On this wizard page, you can select whether you need to restore specific file versions, or restore to a specific point in time
.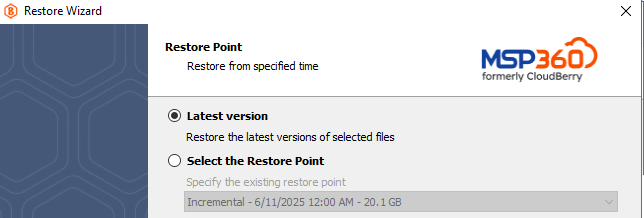
The following options are available in the wizard:
- Latest version
Enables you to restore the latest versions of your images available in a backup. Selecting this option will restore only those image versions that were modified before the most recent backup. - Point in time
Enables you to restore image versions available in your backup storage at the specified date and time. Selecting this option will restore only those image versions that were modified before the most recent backup and are not yet available in the destination folder. If earlier versions of the corresponding images already exist in the destination folder, they will not be restored unless you explicitly enable their overwriting further in this wizard. - Manually (This option can appear if you are restoring legacy backups.
Enables you to select which versions of each image to restore. You can specify which versions to restore on the next wizard page.
When restoring a backup that was made on another computer, you may need to synchronize the repository to refresh the file tree.
Click Next.
Restore Type
On this wizard page, you need to choose how to restore your data.
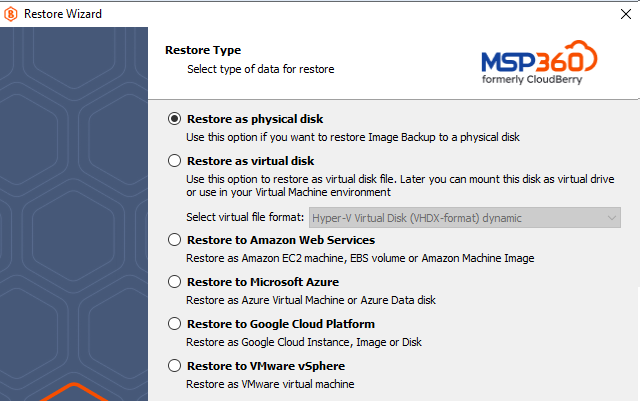
The following options are available:
- Restore as physical disk
- Restore as virtual disk
- Restore to Amazon Web Services
- Restore to Microsoft Azure
- Restore to Google Cloud Platform
- Restore to Vmware vSphere
Click Next.
Temporary Instance (Optional)
On this wizard page, you can select whether you need to use a temporary instance when restoring an image-based backup.
Refer to the Specify Temporary Instance article for details.
Click Next.
Select Partitions
On this wizard step, select partitions to restore.
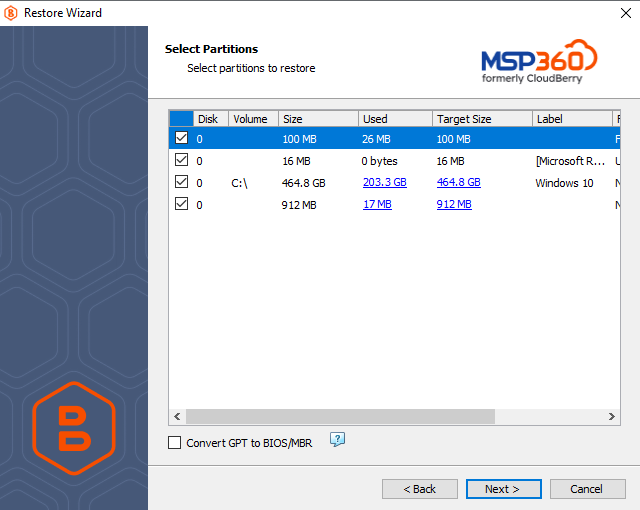
Refer to the Select Partitions article for details.
Click Next.
Destination
Specify the destination disk for restore of the image-based backup
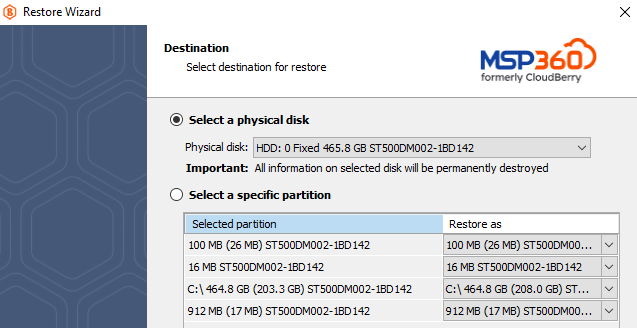
Refer to the Destination for Restore article for details.
Click Next.
Encryption Password (Optional)
Specify the encryption password to decrypt the encrypted backup.
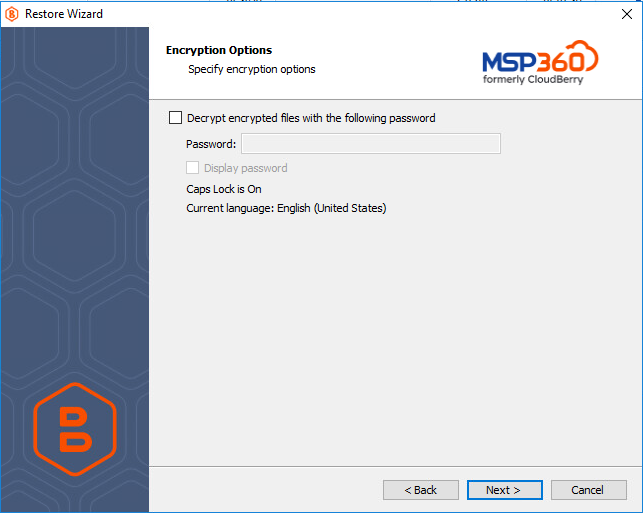
Visit the following webpage to learn more about using this feature: Backup Encryption Options Demystified.
Click Next.
Glacier Smart Restore (Optional)
Manage your Glacier retrieval fees.
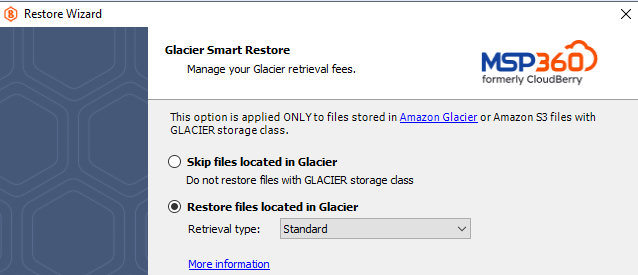
Refer to the Glacier Smart Restore article for details.
Click Next.
Schedule Your Restore Plan (Optional)
If you selected to save a created restore plan for further use, select schedule options.
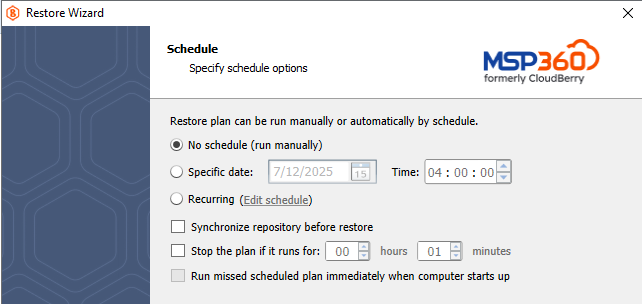
Refer to the Schedule Your Restore Plan article for details.
Click Next.
Pre-/Post Actions (Optional)
Specify actions to be executed before or after the restore plan completion.
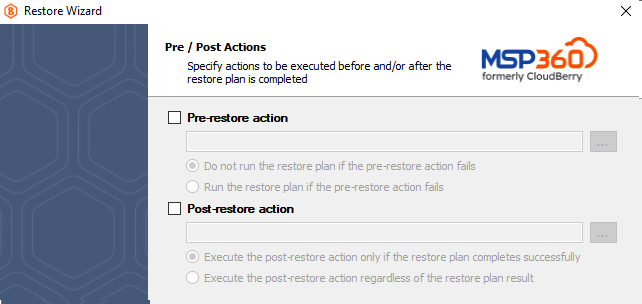
Refer to the Pre- /Post Actions article for details.
Click Next.
Notifications and Logging
Specify email notification settings and options to add records to Windows Event Log.
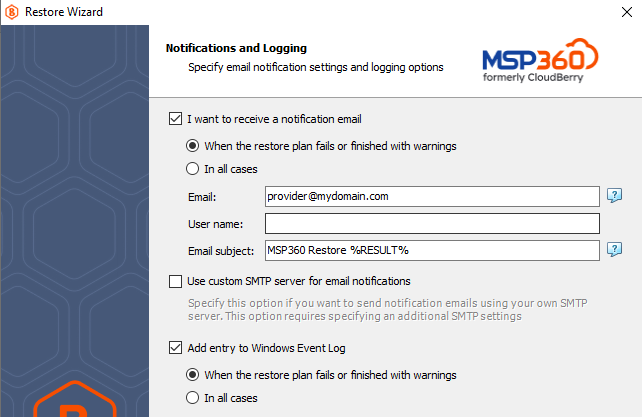
Refer to the Notifications and Logging article for details.
Click Next.
Check Network Shares (Optional)
If you specified one or more network locations on the previous wizard pages, you can have the wizard verify access to these locations.
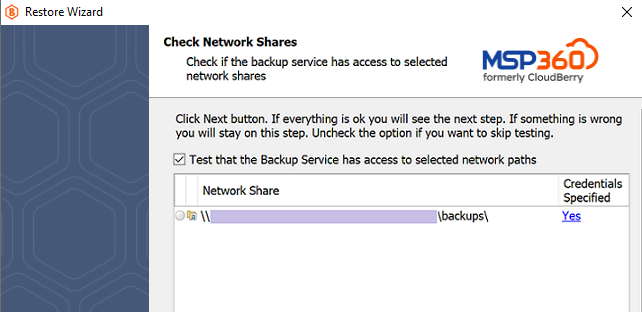
Refer to the Check Network Shares article for details.
Click Next.
Summary
Check and manage your restore plan
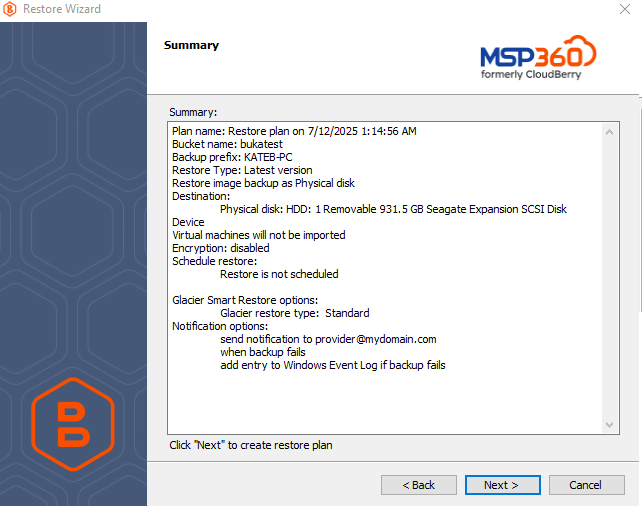
Refer to the Save and Run Your Restore Plan article for details.
Click Next to create the restore plan.