Create Connection
This chapter includes detailed information that helps you to create connections to the remote computer and use different features of MSP360 Connect for Android. Run through the steps below:
- Step 1. Specify Computer ID
- Step 2. Connection Configuration
- Step 3. Use Unattended Access
- Step 4. Use In-Session Options
- Step 5. Manage Application Settings
- Step 6. Join Meetings
- Step 7. Use Voice and Text Chat
- Step 8. How To Terminate Connection
Step 1. Specify Computer ID
Enter Computer ID or select the computer from the Address Book, then enter PIN.
Step 2. Connection Configuration
Depending on outbound connection configuration on the remote computer, you might be prompted to enter encryption key, 2FA verification code or custom password. These features provide an additional security layer.
To create a connection, get the custom password from the remote host, then enter the password:
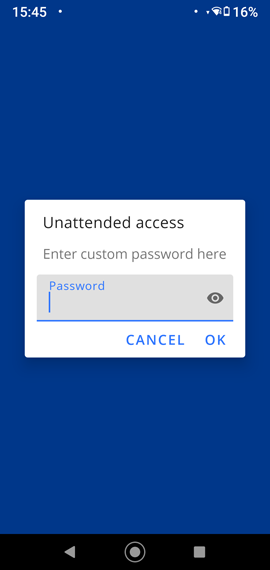
You can use a custom password to the remote computer instead of PIN
Step 3. Use Unattended Access
MSP360 Connect features an unattended access connection option that allows you to authenticate using the remote host user's Windows credentials instead of PIN.
Unattended Access is only available in the PRO version of MSP360 Connect for Android
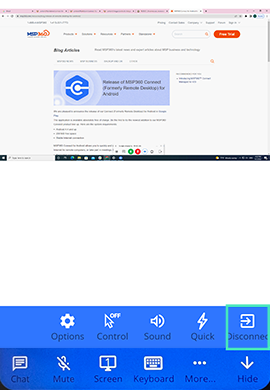
Step 4. Use In-Session Options
There are several in-session options available. You can use them while the connection to the remote computer is established.
The following options are available:
- Multi-screen support
- Screen config
- Sound
- Quick
- Mute
- Disconnect
Step 5. Manage Application Settings
Configure application settings.
The list of application settings available for configuration:
- Info
- Sound settings
- Other
Step 6. Join Meetings
The Meetings feature allows you to join meetings using MSP360 Connect. You will need a Meeting ID to join.
Step 7. Use Voice and Text Chat
There is a voice and text chat available during the active session to communicate with the remote host side.
Step 8. How To Terminate Connection
To terminate a connection, tap More, then tap Disconnect.