Proxmox Virtual Machine Restore Plan
Backup for Windows offers restore of Proxmox virtual machine backupas a virtual disk. You can mount this disk as a virtual drive or use it in your virtual machine environment later on.
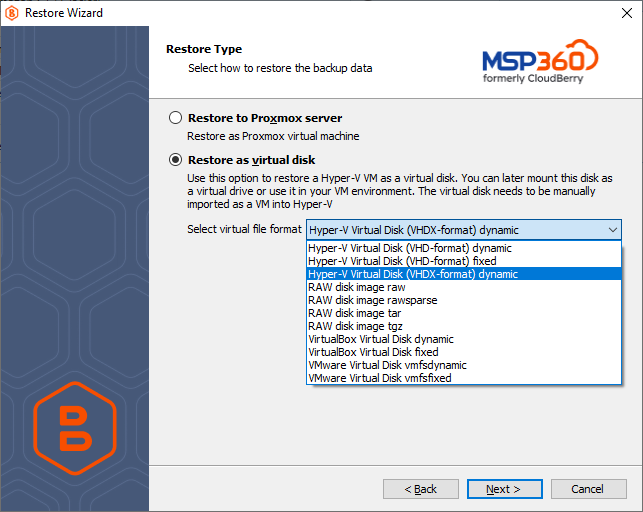
The following virtual file formats are supported:
- Hyper-V Virtual Disk (VHD-format), dynamic
- Hyper-V Virtual Disk (VHD-format), fixed
- Hyper-V Virtual Disk (VHDX-format), dynamic
- RAW disk image, raw
- RAW disk image, rawsparse
- RAW disk image, tar
- RAW disk image, tgz
- VirtualBox Virtual Disk, dynamic
- VirtualBox Virtual Disk, fixed
- VMWare Virtual Disk, vmfsdynamic
- VMWare Virtual Disk, vmfsfixed.
Users must have administrator-level access to create or edit the restore plans
Create Restore Plan
To create a new restore plan, click the Restore icon in the horizontal menu bar.

The Restore wizard starts.
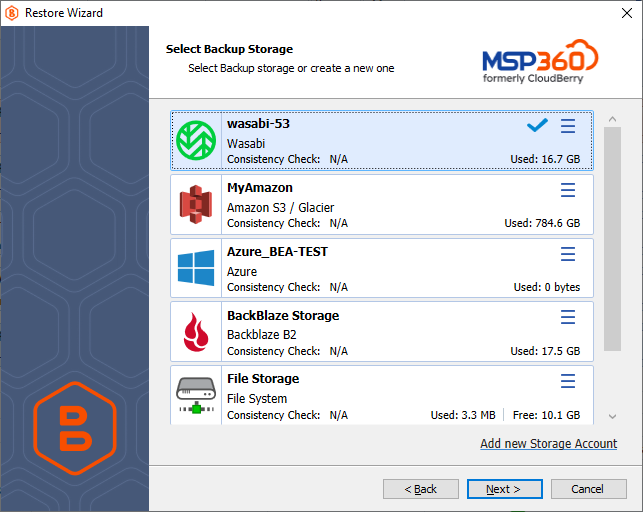
Select Backup Storage
Select a backup storage account that contains the dataset to restore.
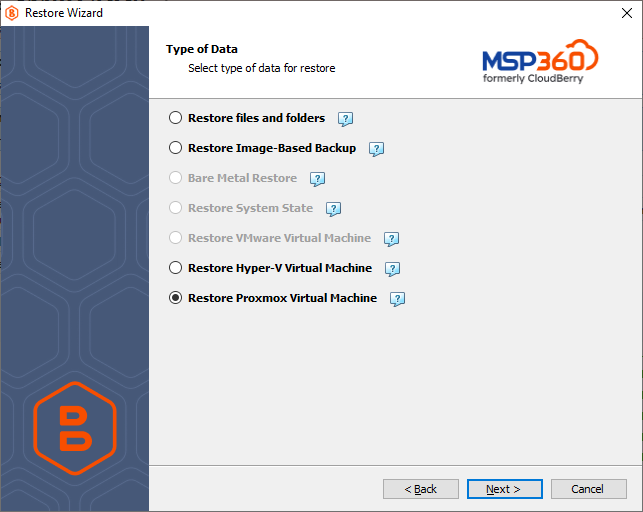
Select Type of Data to Restore
Select the Restore Proxmox Virtual Machine option to restore VMs.
Select Backup Plan to Restore
Select a backup plan that contains the dataset to restore. Entries are named after backup plans previously created and executed successfully.
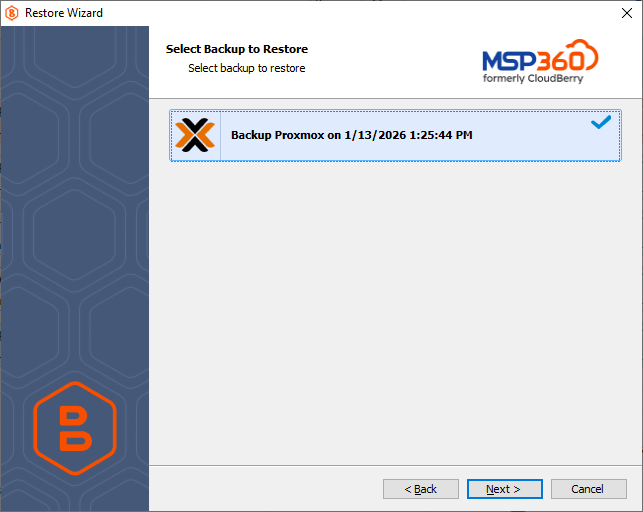
Click Next.
Select Restore Point
Select the required restore point for the plan. You can select the latest available restore or select the required one manually from the list.
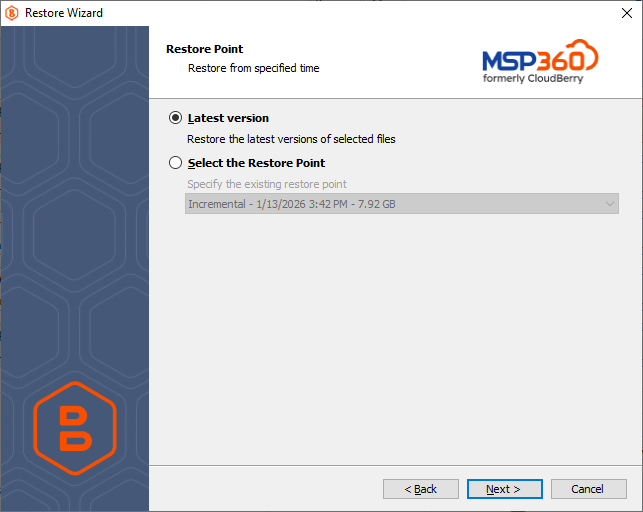
Click Next.
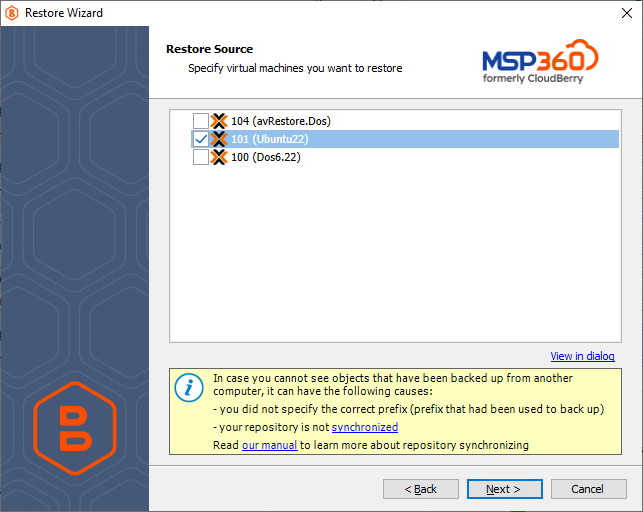
Restore Source
Select virtual machines to restore from the list.
Restore Type
This step displays all possible restore types that are available for backups currently stored in backup storage.
- Select Restore to Proxmox server to restore as a Proxmox virtual machine.
- Select Restore as virtual disk to restore as a virtual disk. This example is described below.
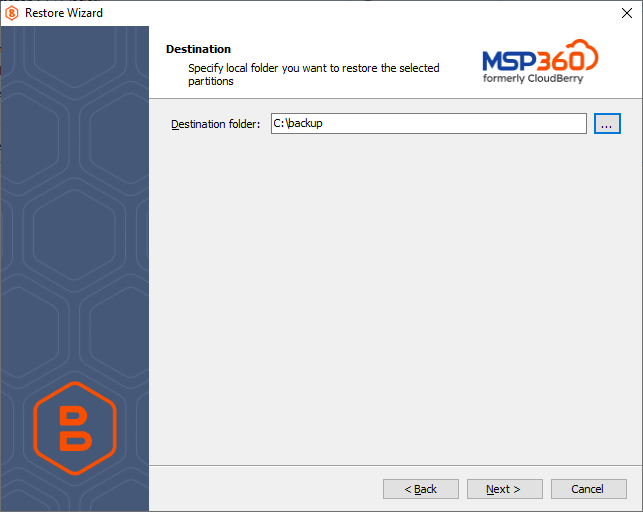
Destination
Specify the destination disk for restore of the Proxmox backup
Glacier Smart Restore (Optional)
Manage your Glacier retrieval fees.
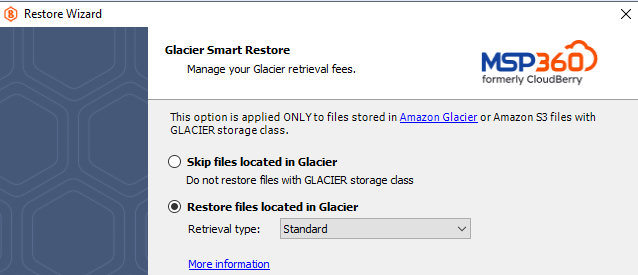
To learn about retrieval rates, refer to the Amazon S3 Glacier pricing article.
Click Next.
Encryption Password (Optional)
Specify the encryption password to decrypt the encrypted backup.
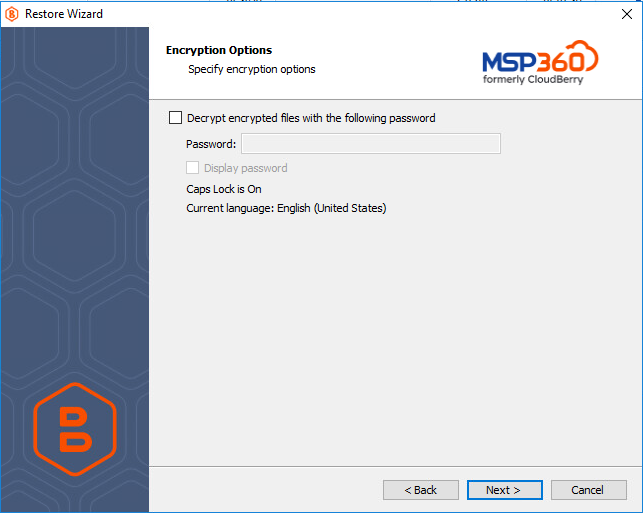
Visit the following webpage to learn more about using this feature: Backup Encryption Options Demystified.
Click Next.
Schedule Your Restore Plan (Optional)
If you selected to save a created restore plan for further use, select schedule options.
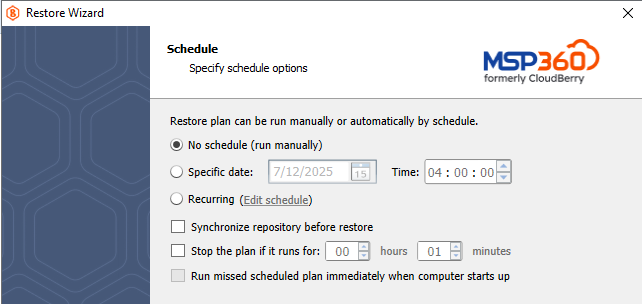
Refer to the Schedule Your Restore Plan article for details.
Click Next.
Pre-/Post Actions (Optional)
Specify actions to be executed before or after the restore plan completion.
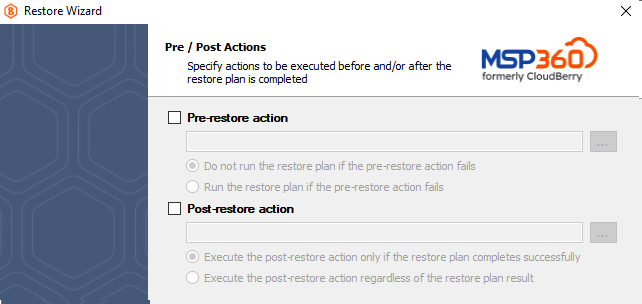
Refer to the Pre- /Post Actions article for more details.
Click Next.
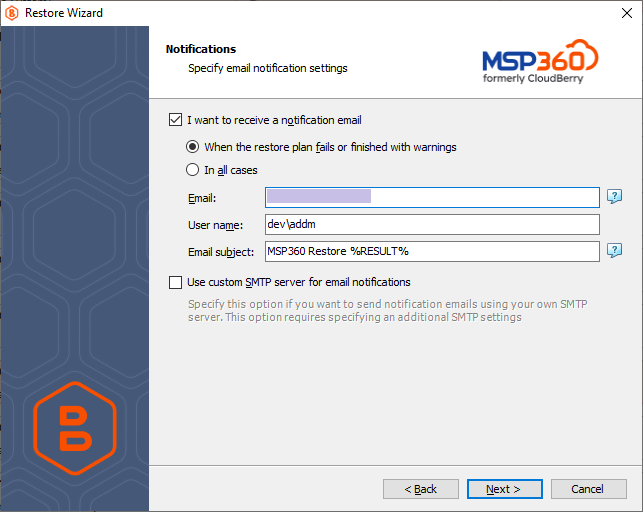
Notifications
Specify email notification settings.
Click Next.
Check Network Shares (Optional)
If you specified one or more network locations on the previous wizard pages, you can have the wizard verify access to these locations.
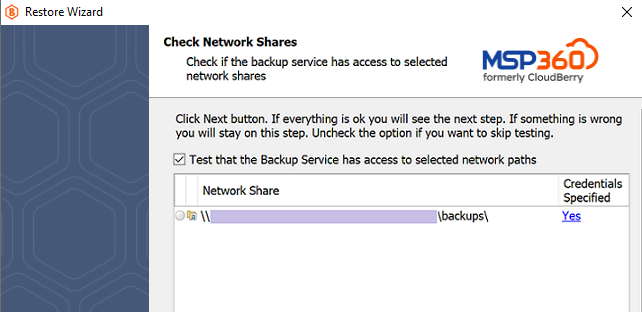
Refer to the Check Network Shares article for details.
Click Next.
Summary
Check your restore plan
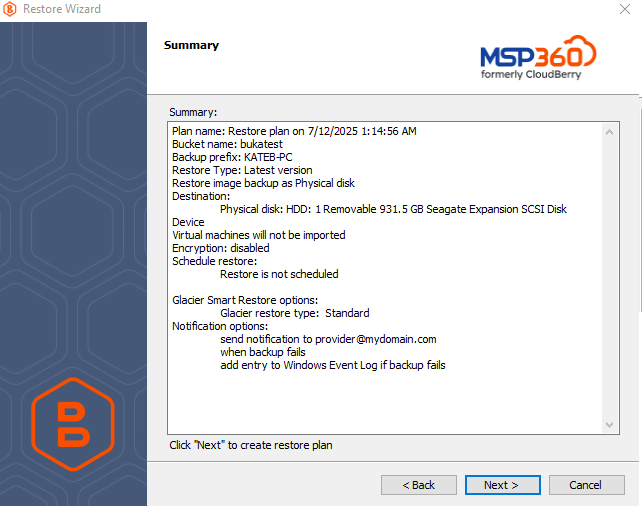
Click Next to proceed to the final page of the wizard. Select whether to start the restore process immediately after closing the wizard by choosing Run Restore now, or run it on a schedule (available only if you saved the restore plan earlier in the wizard). Click Finish to apply the changes.
Edit a Restore Plan
To edit the restore plan, proceed as follows:
- Switch to the Restore Plans tab.
- Open the restore plan you want to edit by expanding it, then click Edit.
- Proceed through the Restore Wizard steps to adjust settings as needed.
- If the plan is currently running, you'll need to select one of the following options:
- Apply changes after the restore plan completes
- Stop the plan and apply changes.
- After choosing the desired option for the running restore plan, click Apply.
- Save the edited plan configuration.
You can edit certain scheduled restore plan parameters directly, without using the restore wizard, as long as the restore plan is not currently running. Editable parameters are marked with a pencil icon. To make a quick edit, simply click the pencil icon next to the parameter
Delete a Restore Plan
To delete the restore plan, proceed as follows:
- Switch to the Restore Plans tab.
- Open the plan to delete, expand it, then click Delete.
- Click Yes to confirm the restore plan deletion.