Importing and Allocating
MSP360 (CloudBerry) products are shipped with a lifetime license; however, that does not include maintenance. To be eligible for support and upgrades, you have to separately purchase annual maintenance. Acquiring maintenance is feasible in two ways: through our website and via MSP360 (CloudBerry) Central. And while we strongly recommend you do it through the latter option, you still can assign maintenance to your licenses even if they were purchased using a different email address.
Assigning Maintenance Purchased via a Different Email Address
Suppose you've purchased maintenance on our website and later received a confirmation email. That email contains the order number that you'll need to enter in MSP360 (CloudBerry) Central when attempting to assign that purchased maintenance.
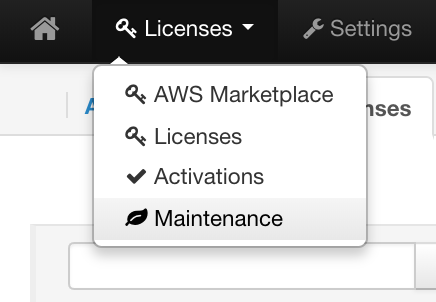
To assign the maintenance to one of your licenses, go to the MSP360 (CloudBerry) Central's main dashboard. Under Licences, click Maintenance.
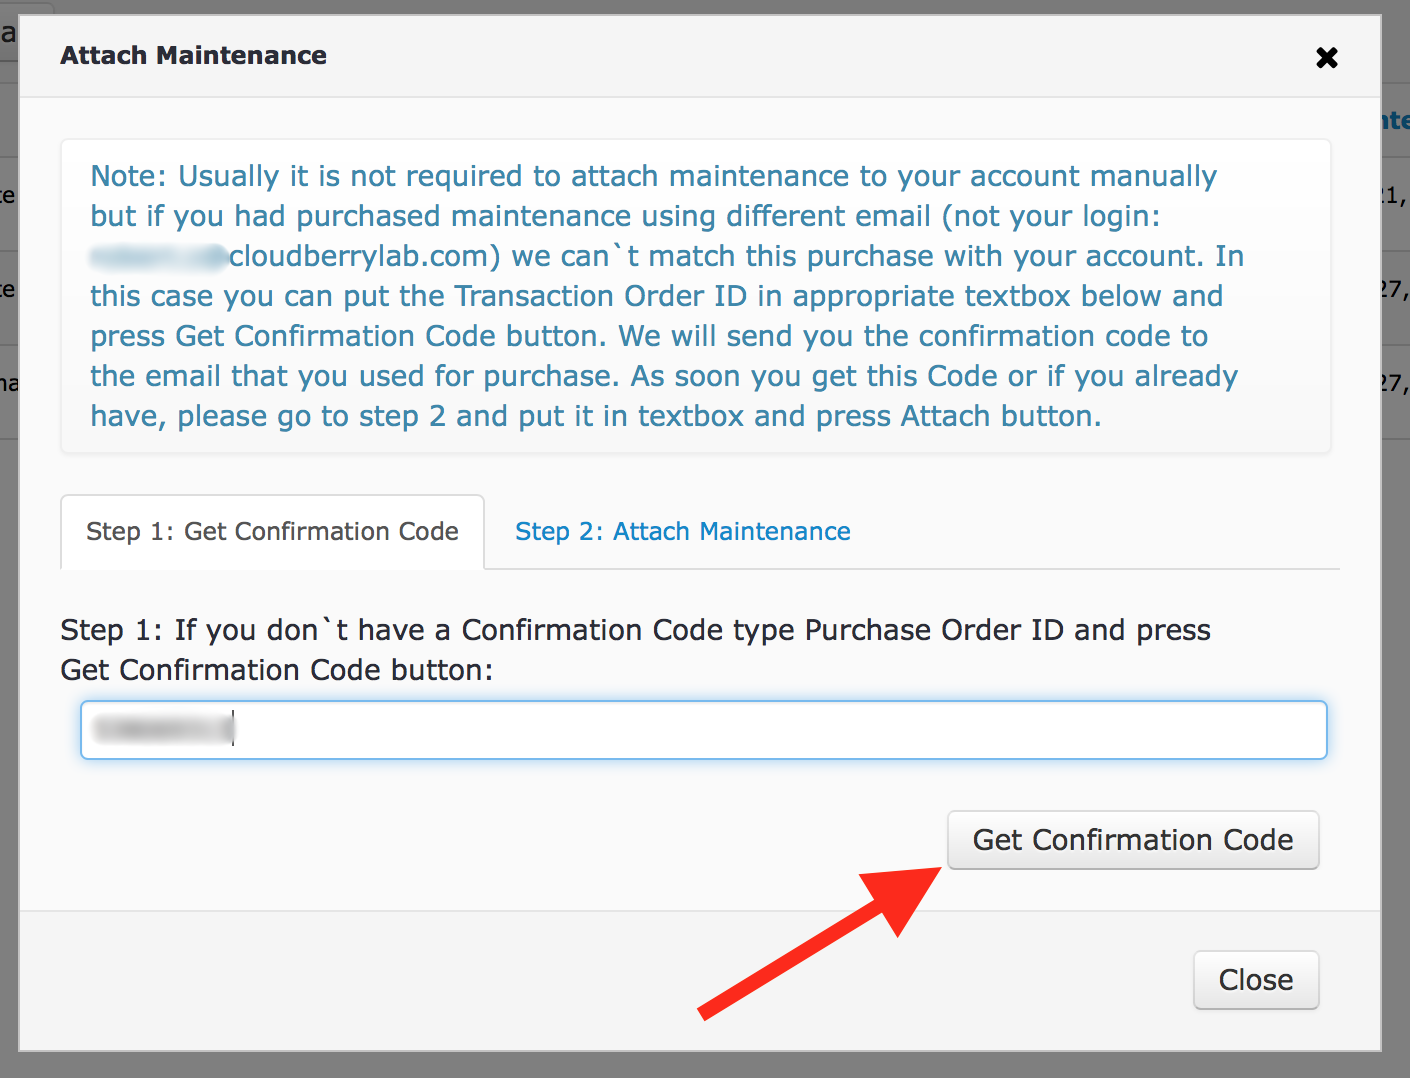
Next, click Attach Maintenance.

Copy the order number from the email and paste it into the text field on the appeared window. Click Get Confirmation Code.
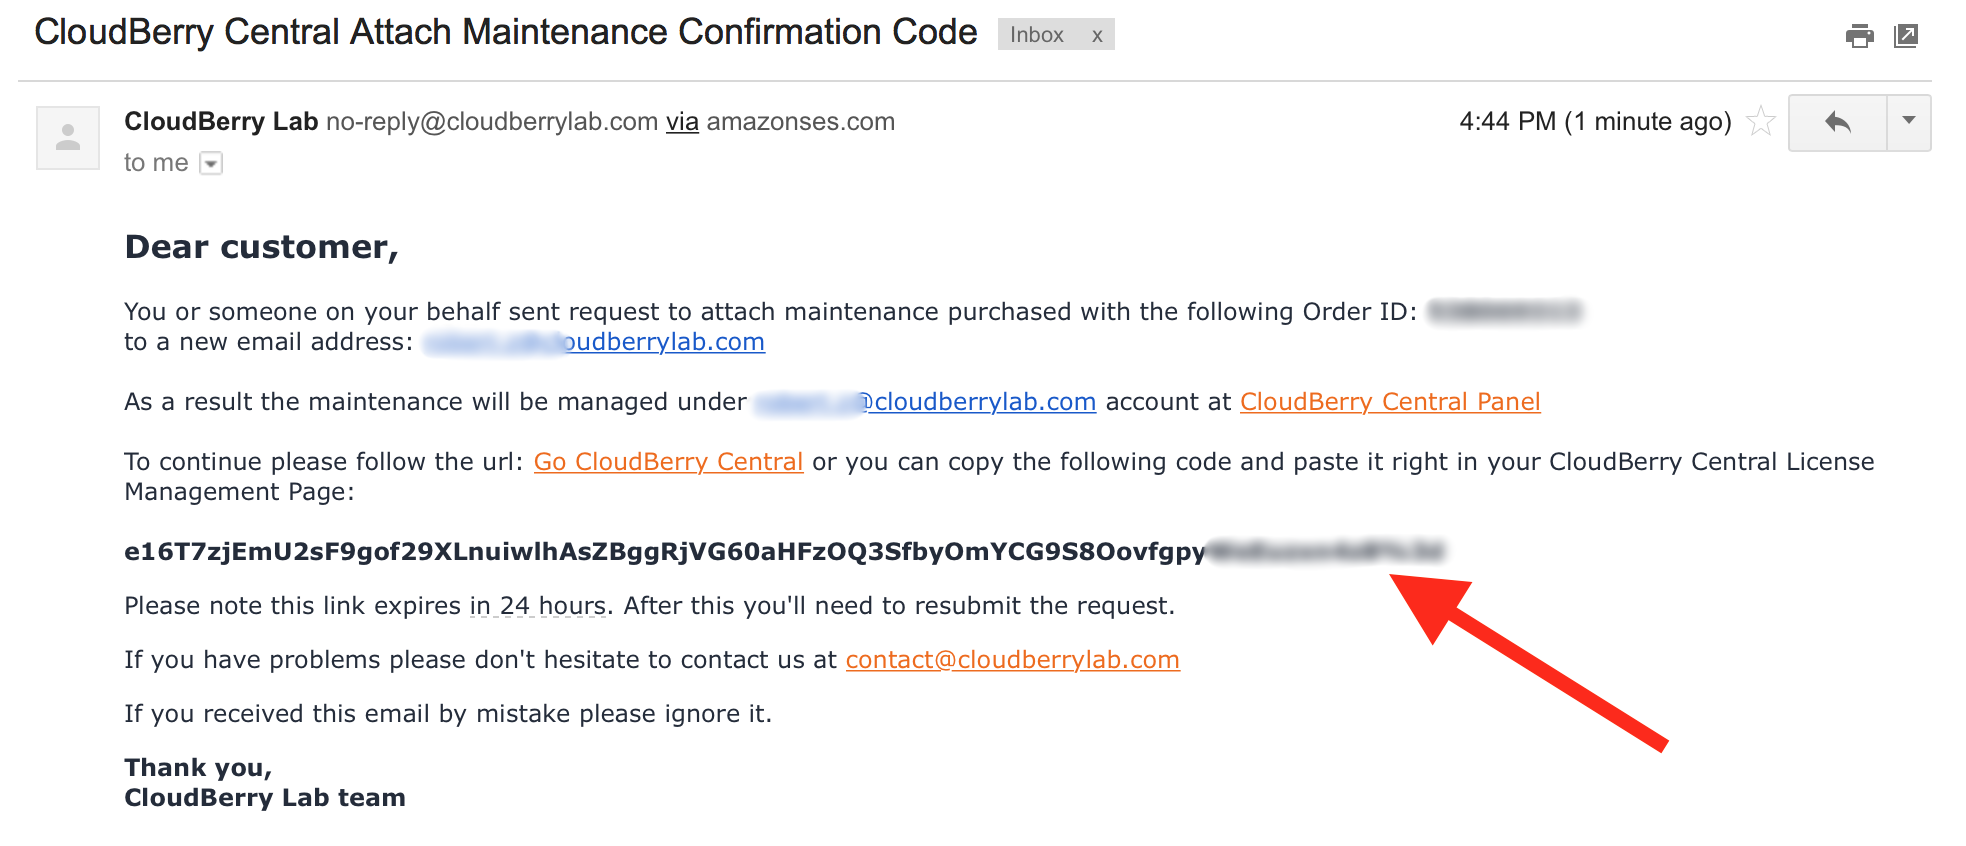
The confirmation code will shortly be sent over to your email address (MSP360 (CloudBerry) Central's login).
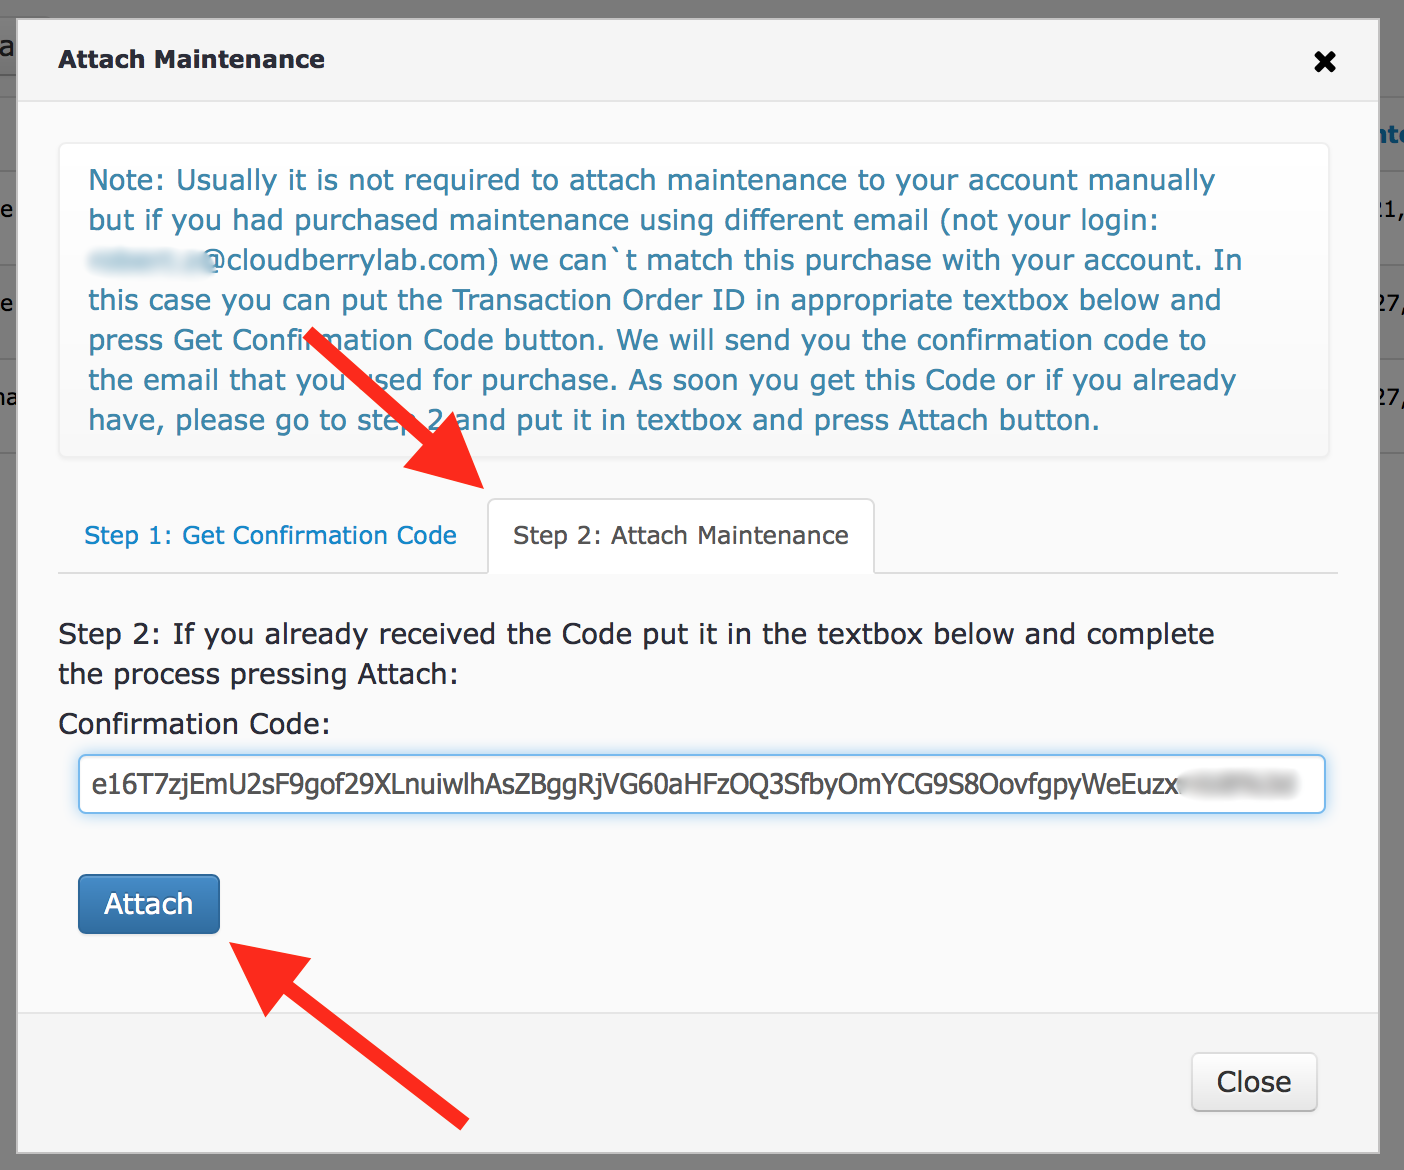
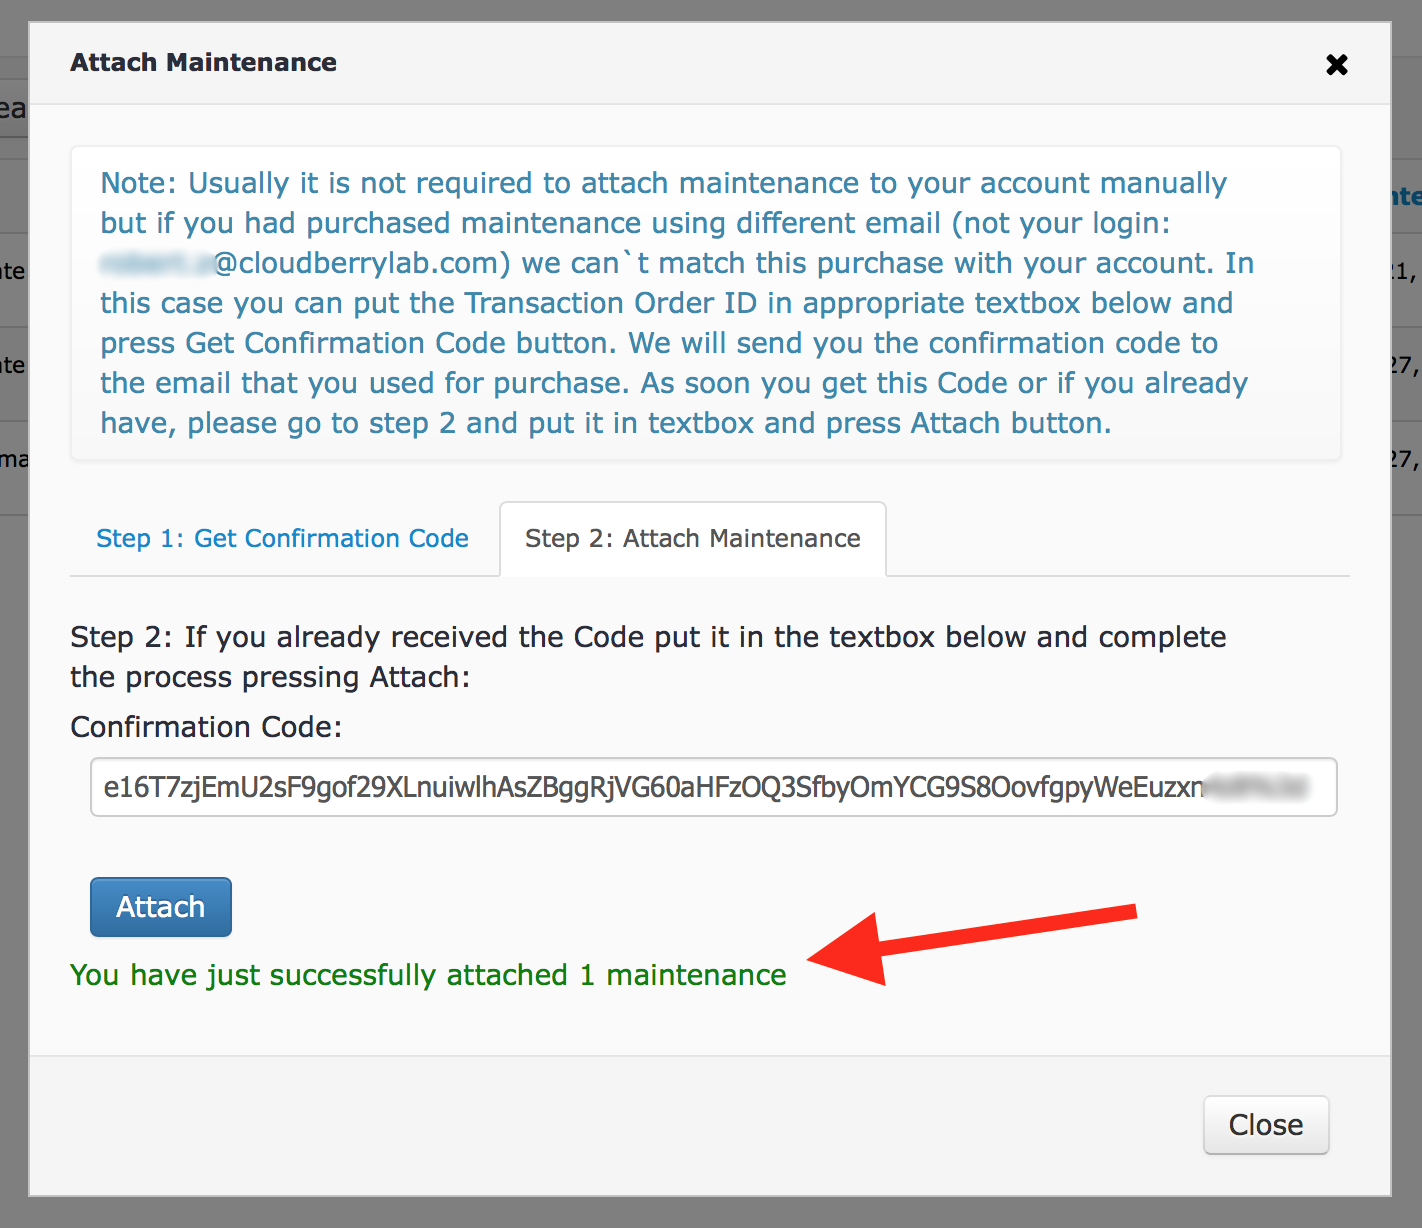
Copy the confirmation code and head back to MSP360 (CloudBerry) Central. On Step 2, paste the code and click Attach.
Shortly, the maintenance will be successfully imported and you will be notified.
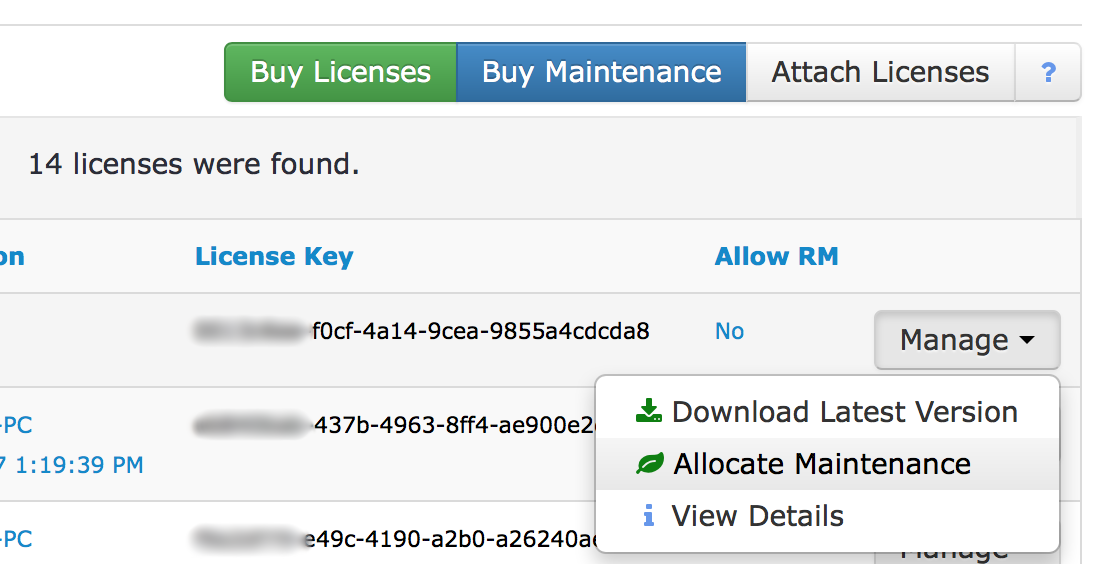
The maintenance is now available to you; however, it's not automatically assigned to one particular license. To do so, go to the main dashboard. Locate the required license, expand the Manage drop-down menu next to it, and click Allocate Maintenance.
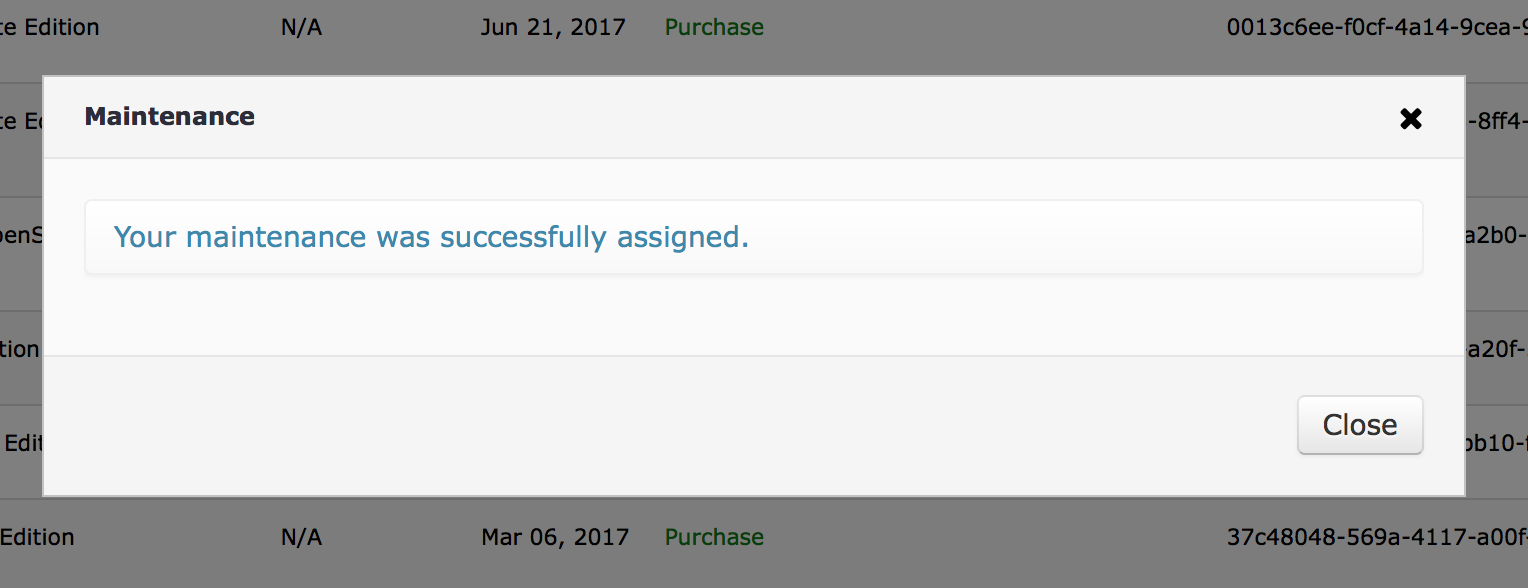
Next, click Assign maintenance.

That's it. The maintenance will immediately be allocated, as you have already imported it.
If you experience any issues as to importing or allocating maintenance — feel free to contact us.