Platform: WindowsProducts: MSP360 Backup
Article ID: s0042Last Modified: 07-Apr-2026
Add Backblaze B2 Storage
To add a new Backblaze B2 storage destination, proceed as follows:
- Open the application menu, then click Add New Account.
- Select Backblaze B2.
Buckets created prior to May 4, 2020, are not S3-compatible. All buckets created after May 4, 2020, are S3-compatible.
Synthetic backup is supported for S3-compatible buckets only
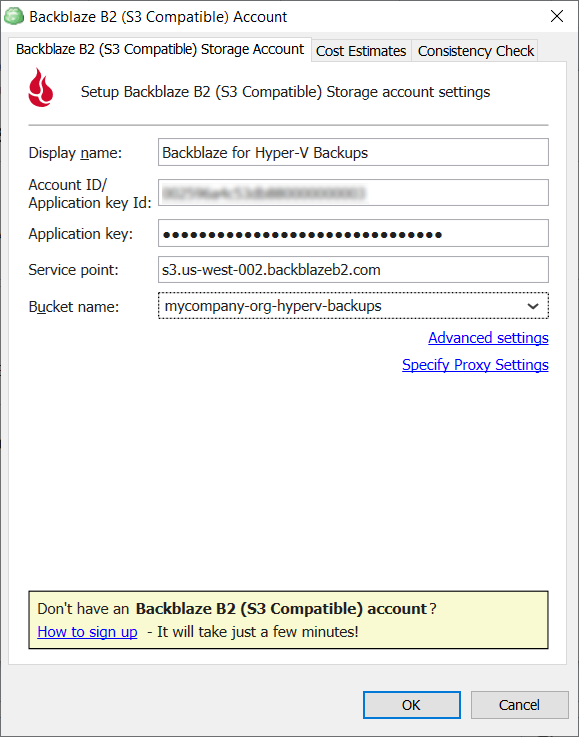
- In Backblaze B2 Account property box, specify:
- in the Display name field, specify the cloud storage name which will be used further
- in the Account Account ID/Application Key ID field, specify the KeyID for your Backblaze B2 account
- in the Application Key field, specify the applicationKey value that has been generated while creating an application key pair.
Note that if you are using a master application key, the bucket you access will not be S3-compatible
To learn more about application key pair, refer to the Sign Up for Backblaze B2 chapter
- Specify the bucket for your backups. To do this, select the required bucket in the Bucket name drop-down list.
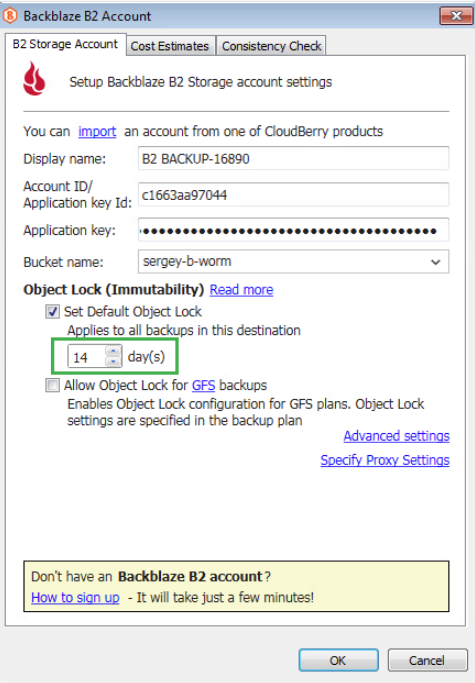
Depending on the bucket configuration:
- If Object Lock (Immutability) is not enabled (or cannot be enabled), a corresponding options will be visible:
- If Object Lock (Immutability) is enabled (or can be enabled), you can manage the object lock settings.
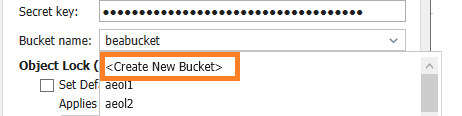
You can also:
- Create a new bucket
Enable Default Object Lock and/or Object Lock (Immutability) for the bucket.
Advanced Settings
To configure additional options, click Advanced Settings.
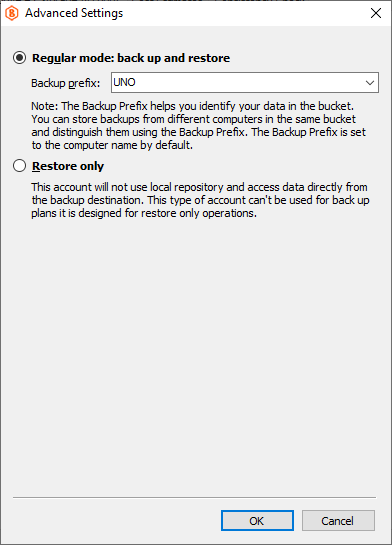
Backup Mode
Select one of the following modes:
- Regular mode - enables both backup and restore operations
- Restore only - allows using the storage only for restore operations
Final Steps
- If you are using a firewall, configure the proxy settings
- After completing the configuration, click OK.