Platform: WindowsProducts: MSP360 Backup
Article ID: m0799Last Modified: 09-Jun-2026
Add IDrive e2 Storage Account
To add an IDrive e2 storage account to the Backup Service:
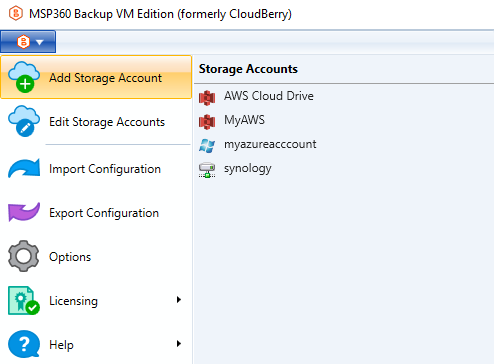
- Open the application menu, then click Add Storage Account
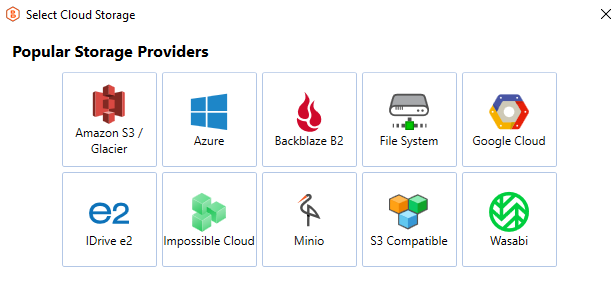
- Select IDrive e2.
General Settings
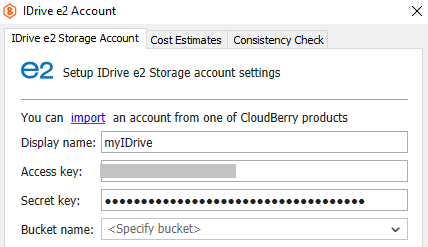
Specify Storage Account details:
- In the Display name field, enter a name for the cloud storage. This name will be used throughout the application.
Authentication
Enter your Access Key and Secret Key for authentication.
If you do not have an IDrive e2 storage, click How to Sign Up in the bottom of the dialog. Refer to the following article for details
Bucket Selection
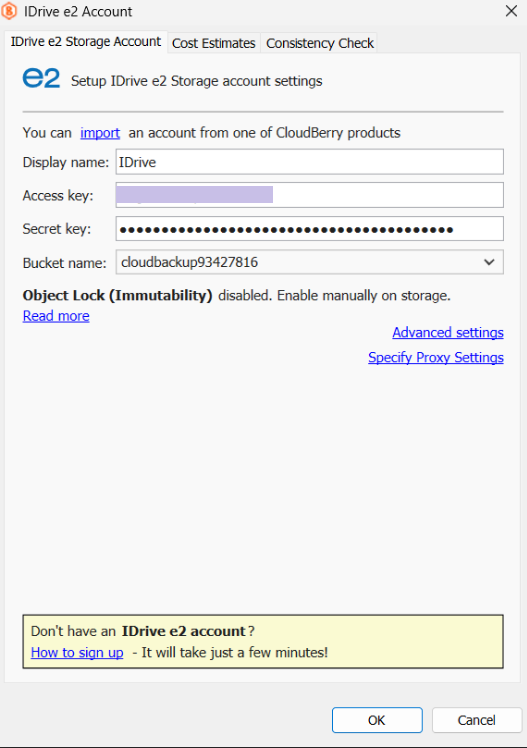
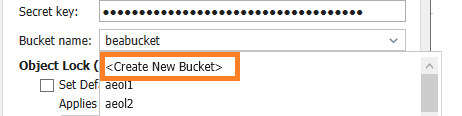
Select the required bucket from the Bucket name drop-down list or create a new one.
Depending on the bucket configuration:
- If Object Lock (Immutability) is not enabled (or cannot be enabled), the corresponding options will be visible:
Enable Default Object Lock and/or Object Lock for GFS backups for the bucket.
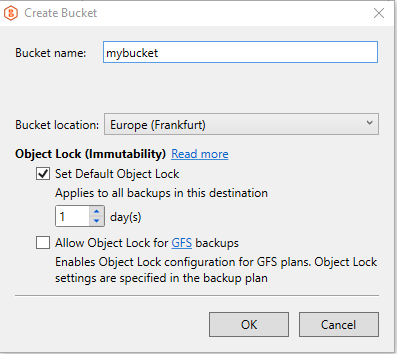
- To enable Default Object Lock, select the corresponding option and provide the correct protection period value if it is not appears automatically:
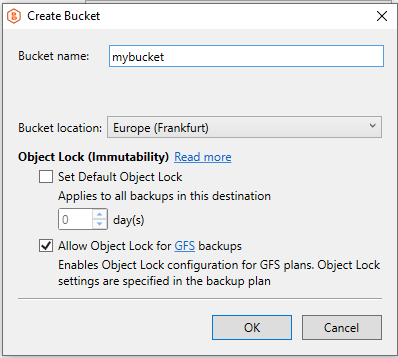
- To enable Object Lock for GFS backups, select the corresponding option and confirm your selection:
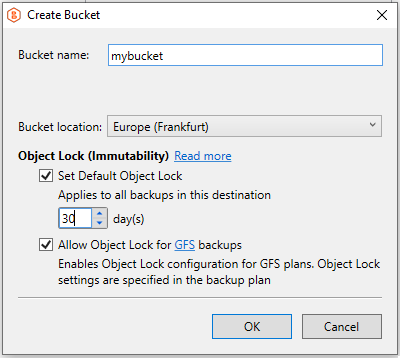
- To enable both Object Lock for GFS backups, select both options:
Advanced Settings
To configure additional options, click Advanced Settings.

You can also:
- Create a new bucket
Enable Default Object Lock and/or Object Lock (Immutability) for the bucket.
Advanced Settings
To configure additional options, click Advanced Settings.
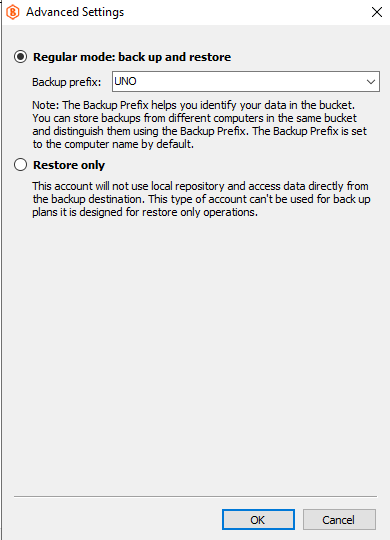
Select one of the following modes:
- Regular mode - enables both backup and restore operations
- Restore only - allows using the storage only for restore operations
Final Steps
- If you are using a firewall, configure the proxy settings.
- After completing the configuration, click OK.
- Once you are finished with specifying the account details, click OK.