Seeding Data to Cloud Using a Computer With Faster Connection (Legacy Backup Format)
Data seeding is a good solution in cases for cloud backups with an environment with a backup source equipped with low bandwidth or unstable connection, or other connection issues.
To perform data seeding from the original computer using a computer with a faster connection do the following:
- Back Up Data to Portable Storage Device
- Transmit Backup Data to the Cloud Storage
- Synchronize the Repository
- Continue With Incremental Backups
Back Up Data to Portable Storage Device
First, back up the data to an external storage device, which will be used for further data transmission to the cloud storage. If the storage device is a regular HDD or SSD drive which is intended to be installed into a faster computer, select it as the local backup destination in the backup wizard.
- Create a new local file or image-based backup plan with the portable storage device as a backup destination.
- Run the backup plan.
Make sure the backup plan is completed successfully. In case of errors, follow the suggested solutions to have a successful backup copy
Note that in case your backup dataset consists of files, you can copy the required files instead of backing them up to the local storage. In a case with disk images, a backup plan with its subsequent run is mandatory
Avoid using filename encryption. Otherwise, backed-up data may not be restored
Transmit Backup Data to the Cloud Storage
This paragraph is intended for users who use their own fast PC to transfer data to backup storage. If you use Azure Import, B2 Fireball, Wasabi Ball, or any other data seeding solution, skip this section.
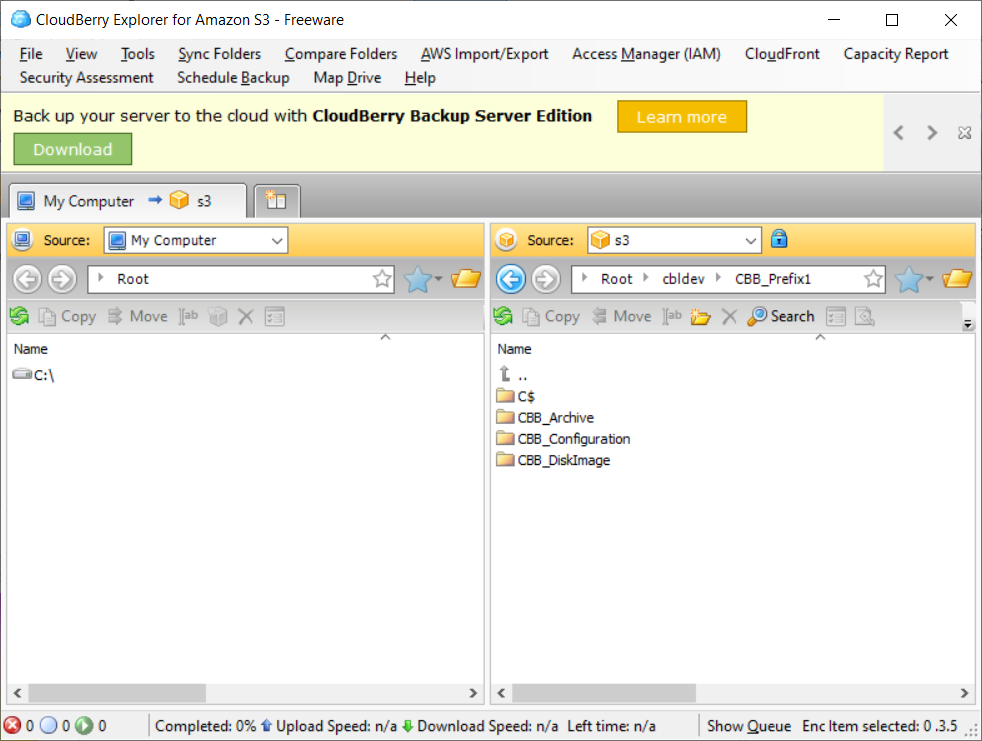
Install the portable storage device onto an instance with a faster internet connection, then copy the backup data to cloud storage. You can do it using the CloudBerry Explorer.
- After installing CloudBerry Explorer, open it.
- Create a storage account with the target cloud credentials.
- Navigate to %user%\AppData\Local\CloudBerryLab\CloudBerry Explorer for Amazon S3 folder.
- Open the settings.list file using any text editor.
- Find the DoNotDecompressDecrypt parameter, then set the true value for it.

- Save the settings.list file.
- Copy the backup data to the required bucket and the required directory in the bucket that is used as the backup prefix.
To learn more about using backup prefixes, refer to the Backup Prefix Explained chapter
The destination bucket and prefix must be identical to the bucket and prefix of the cloud storage destination that will be used on the original computer
Synchronize the Repository
To Synchronize the Repository
- Run the MSP360 (CloudBerry) Backup application.
- Select Options.
- Switch to the Repository tab.
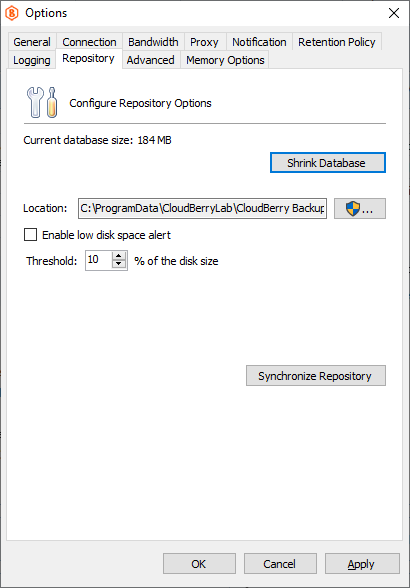
- Click Synchronize Repository.
- Select the cloud storage account to synchronize, then click Synchronize Now.
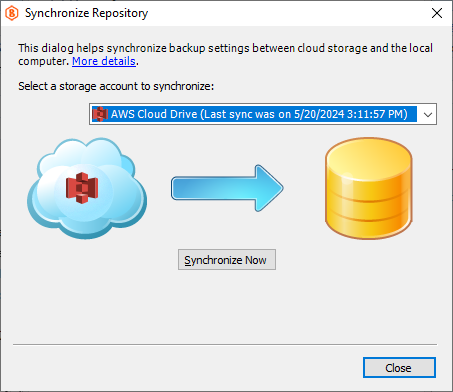
In case you do not see your backup data, check the cloud storage account settings
Continue With Incremental Backups
Once the initial data is transmitted to the cloud storage, use incremental backups to avoid low-bandwidth channel overloading.