File Restore (new backup format)
MSP360 (Formerly CloudBerry) Backup for Linux features easy and convenient restore functionality. Once the data is backed up to the backup storage, it can then be restored in bulk or selectively, at the file level. This restore type is called item-level restore.
Item-level restore is supported for the following file systems:
- ext2
- ext3
- ext4
- XFS
- Btrfs (partial support; RAID configurations are not supported)
- LVM
Create a Restore Plan
To create a restore plan, in the horizontal menu bar, click the Restore icon or press Ctrl+B.

Also, right-click on files to restore on the Backup Storage and select Restore.
Step 1. Select a Backup Storage
Select the backup storage that contains the backup data to restore.
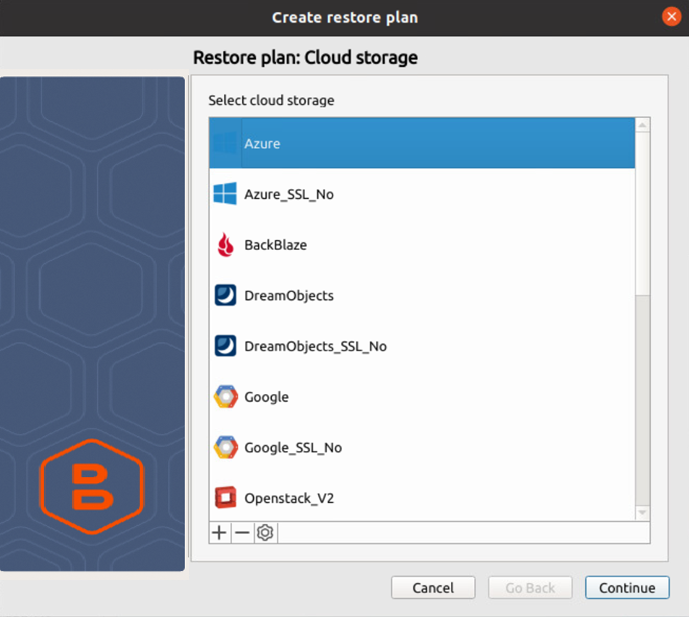
Click Continue.
Step 2. Plan Name
Enter the plan name and select whether to restore data once or keep the restore configuration in the saved restore plan.
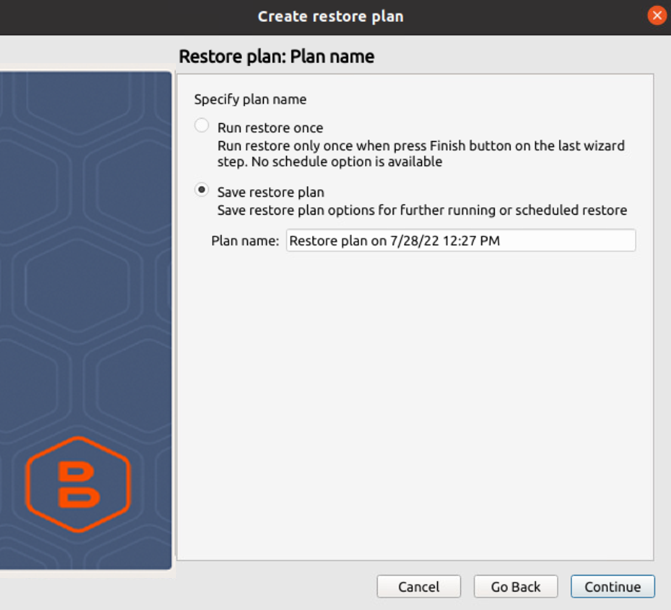
Click Continue.
Step 3. Select Backup to Restore
Select the backup to restore.
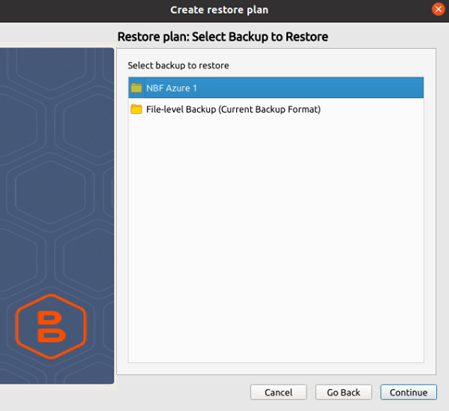
Click Continue.
Step 4. Select Restore point
Select the restore point from the list of available.
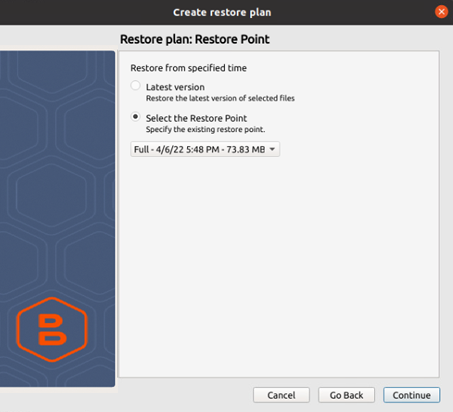
Click Continue.
Step 5. Restore Source
Select the objects (files and folders) to restore.
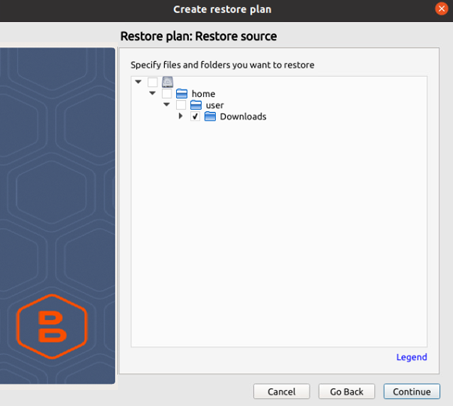
Click Continue.
Step 6. Destination
Select the destination to restore and restore options.
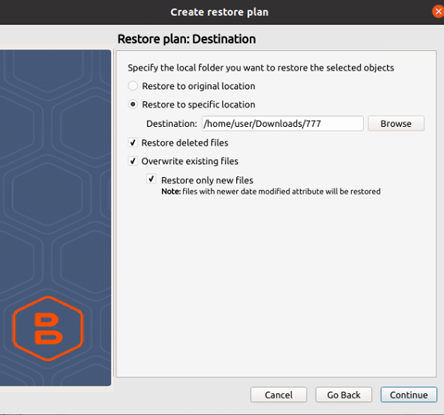
- Restore to the original location. If you select this option, the selected files will be restored to the same directory where the source files were located
- Restore to a specific location. This option will restore the selected files to a custom directory
- Restore deleted files. This option enables you to restore files that were deleted in the backup source
- Overwrite existing files. This option specifies whether to replace the existing files in the destination folder with their newer versions or keep the older files and not restore their newer versions. Different file versions are attributed to the same file only if their names are identical to that of the original file
- Restore only new files. Select this option to restore only files with a newer modification date
Click Continue.
Step 7. Decryption (optional)
If backup data is kept on backup storage encrypted, select the Decrypt encrypted files with the following password, then enter and confirm the encryption password specified in the corresponding backup plan.
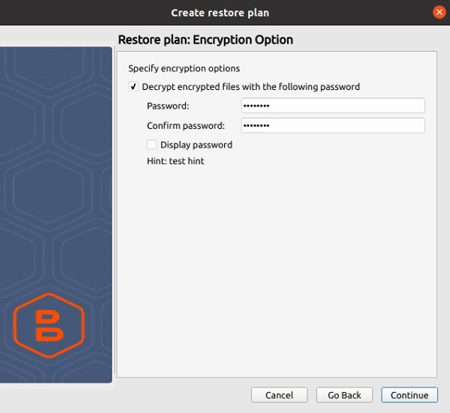
Click Continue.
Step 8. Schedule
Set the schedule for the restore plan.
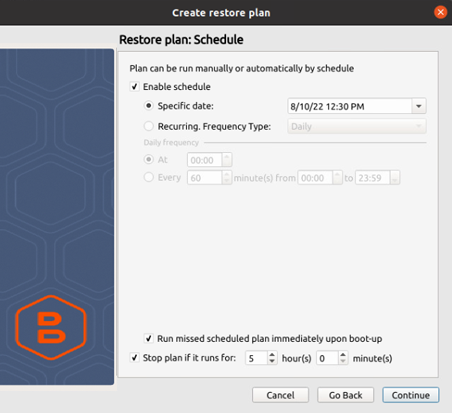
To apply the schedule, select the Enable schedule check box.
- Specific date. With this option selected, the restore plan will be executed once, on a specific date. This option is for some special cases and is not recommended for everyday restore strategies
- Recurring. Select this option to run the restore plan on a regular basis, then specify the schedule parameters
Select the Run missed scheduled plan immediately upon boot-up check box to run the restore plan straight after the computer is booted in case the restore plan execution on the schedule was missed when the computer was down. Select the Stop the plan if it runs for check box to terminate the restore plan execution if it lasts more than the specified period.
Click Continue.
Step 9. Notification
Customize email notifications for the restore plan. If the plan completes or fails, you will receive an email message containing the plan results.
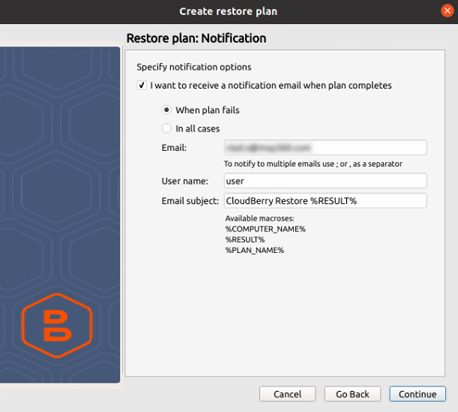
Specify your email, user name, and preferred email subject. The email subject can contain the following variables:
- %COMPUTER_NAME%
- %RESULT%
- %PLAN_NAME%
For example, enter the following subject:
Restore Plan: %PLAN_NAME% executed with status: %RESULT%
Click Continue.
On the last page of the restore wizard, review the plan.