File-Level Restore (new backup format) (Beta)
Introduction
MSP360 (CloudBerry) Backup features comprehensive restore functionality in addition to its main backup purpose. Once the data is backed up to the backup storage, it can then be restored granularly — even to the extent of restoring a past version of a given file.
Data restore occurs with the help of Restore Wizard. It is designed similarly to the Backup Wizard with the main difference being that data flows back from the backup storage to your computer. If data restore takes place on the same computer, you might proceed to restore data without considering technicalities pertaining to the restoration process. However, if you are planning to restore from a different computer, first ensure that your configuration of MSP360 (CloudBerry) Backup meets the following requirements:
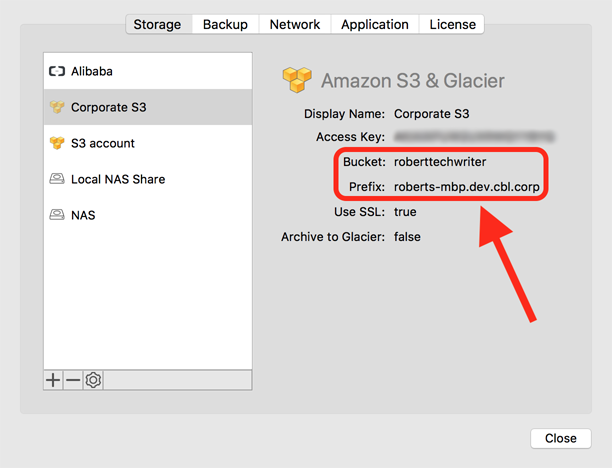
- The backup storage is unmistakably the one that contains the backup data;
- Backup prefix and target bucket on the new computer are identical to that of the old computer.
If these requirements are met, restoration should be performed smoothly.
Creating a Restore Plan
Click on the restore icon on the main toolbar or press Ctrl+B to create a restore plan.

Alternatively, right-click on the files you want to restore in the Backup Storage tab and click Restore.
Select Cloud Storage
Select the backup storage that contains the backup data and click Continue.

Name Plan
Specify whether this restore plan should be saved or whether one restoration is sufficient. If you prefer to save this plan, enter the plan name that will be displayed throughout the app and click Continue.
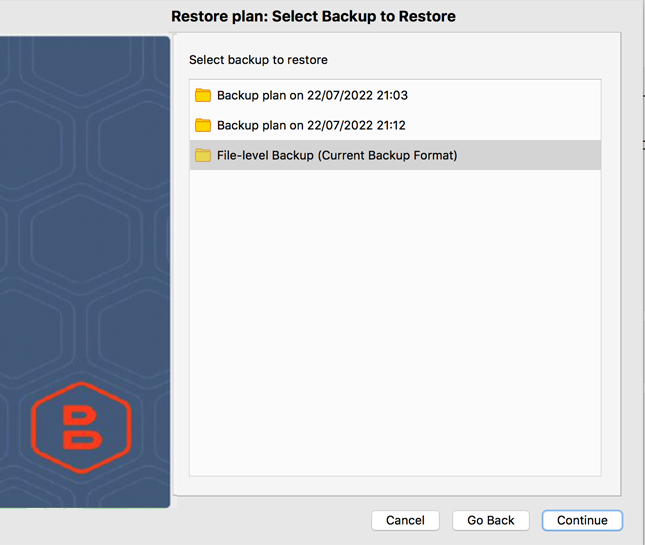
Select a Backup to Restore
Select the backup plan that contains the backup data and click Continue.
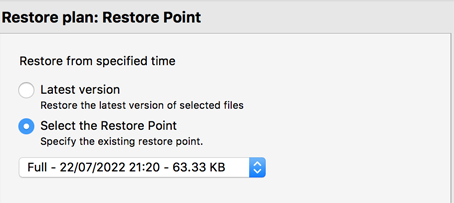
Step 3. Versioning
Next, specify which version should be restored. You can either restore the latest version or "go back in time" and select a restore point to restore a version that was considered the latest at the specified restore point.
If restoring from Amazon, consider the following options:
- Use S3 Transfer Acceleration. Use this option to accelerate file transfer for an extra fee. The target bucket must have this feature enabled.
- Do not restore files from Glacier. Restoring data from Glacier implies either hours-long retrieval or hefty storage bills.
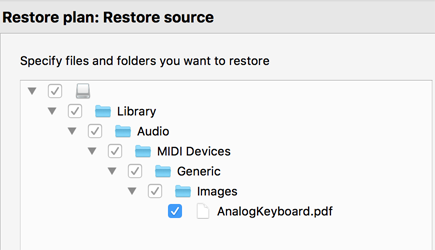
Step 4. Select Restore Source
Select the files/folders you want to restore. Click Continue.
Step 5. Select Restore Destination
Specify whether you want to restore files to the original location or whether you want to restore them to a certain folder.
You can configure how to handle deleted files.
You can also optionally instruct MSP360 (CloudBerry) Backup to overwrite existing files during restoration. If you select the Restore only new files checkbox, MSP360 (CloudBerry) Backup will compare the modification date of the file in the cloud with its local counterpart and restore the cloud file if it is newer.

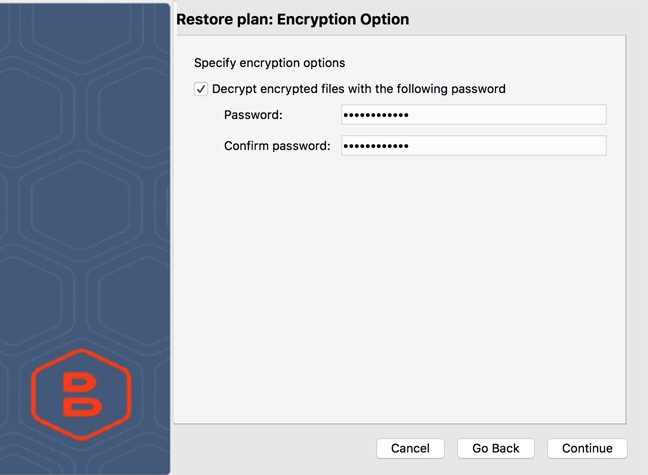
Step 6. Select Encryption Options
If the backed up data is encrypted, specify the encryption password in order to decrypt the data.
Step 7. Scheduling
Next up is scheduling. There are the following options to choose from:
- If no schedule is enabled, the backup plan will not be executed unless started manually.
- Specific date. The backup plan will only be executed once, on the specified date.
- Recurring. This is by far the most flexible option. Here you can schedule the backup plan to be executed daily, weekly, or monthly.
You can also set the action for the missed plans and a maximal duration period for the backup plan. To do that, select the Stop plan if it runs for checkbox and specify the maximum period.
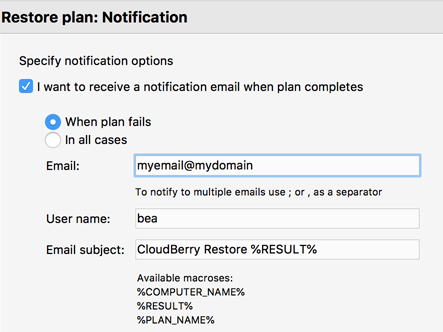
Step 8. Email Notifications
Next, indicate if you want to receive email notifications following restoration. If the plan completes or fails, you will receive an email that contains all of the information regarding the status of the plan.
Specify notification recipient email address, user name, and the preferred email subject. The email subject can contain the following macros:
- %COMPUTER_NAME%
- %RESULT%
- %PLAN_NAME%
For example, you could enter the following subject:
Restore Plan: %PLAN_NAME% executed with status: %RESULT%
Step 9. Plan Summary
On the last page of the Restore wizard, review the plan and optionally select the Run plan now checkbox. Click Done.
The backup plan has been successfully created!
Step 10. Plan Execution
If you selected the last checkbox when reviewing the plan, the restore plan will automatically execute. Otherwise, click on the Start button on the main toolbar to manually execute it. In the meantime, you can observe the restoration process in the progress bar at the bottom of the plan view.
When the plan completes, you will be notified over email about the status. With scheduling enabled, the plan will recurrently execute without you having to open the app or click any buttons.