Data Seeding (New Backup Format)
Data seeding is a solution for computers or networks with low bandwidth or unstable outgoing connections to cloud storage, or other connection issues.
With data seeding, you transfer the full backup dataset to a computer with a faster connection with a subsequent upload to cloud storage and then continue with incremental backups from the original location with slow connections.
The idea of data seeding is as follows: the first full backup is created to a local destination (for example, to removable media connected to a source computer or network share), then the full backup is transferred to a location with a faster connection for the subsequent copying to cloud storage. Once the first full backup transfer is complete and the original computer is connected to the cloud storage, synchronization is performed and the next backup should be incremental.
Incremental backups from the original location can be continued without overloading a slow internet channel.
Create Local Full Backup
- Run Backup for Windows.
- Add a new local storage account.
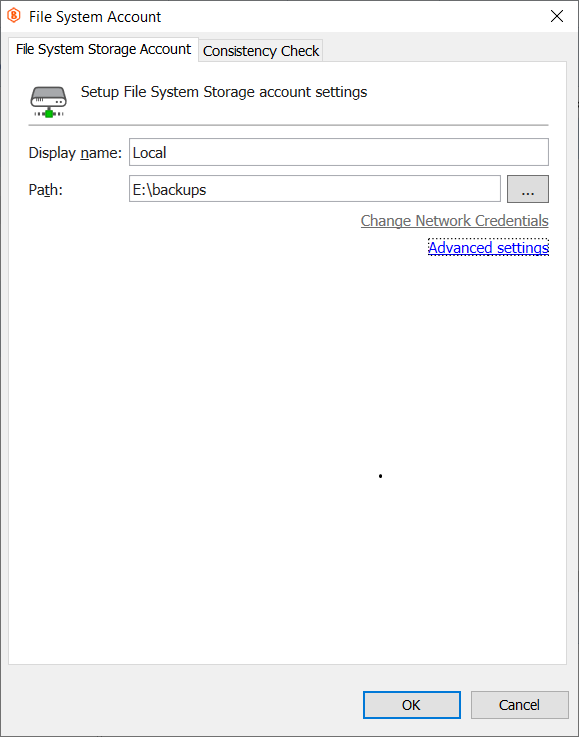
Use the default backup prefix
- Create a new backup plan. On the Select Backup Storage step, select the storage account created in the previous step.
- Finish the backup wizard, then run the backup plan.
- Wait until the backup plan (first run must be a full backup) completes.
Make sure the backup plan is completed successfully. In case of errors, follow the suggested solutions to get rid of them and obtain a successful backup copy
Transfer Backup Data to External Device
As the local backup plan completes, copy the contents of the local storage account (e.g., the local storage account is set to E:\backups) to the external device that will be used for further data transfer to cloud storage.
To do this:
- Connect the external storage device to the original computer.
- On the original computer, open the location specified in the local storage account used for data seeding (e.g., E:\backups).
- Copy all directory contents to an external storage device.
Transfer Backup Data from External Device to Cloud Storage
On a computer with a faster internet connection copy the backup data from an external storage device to the cloud storage. For example, you can do it using the CloudBerry Explorer.
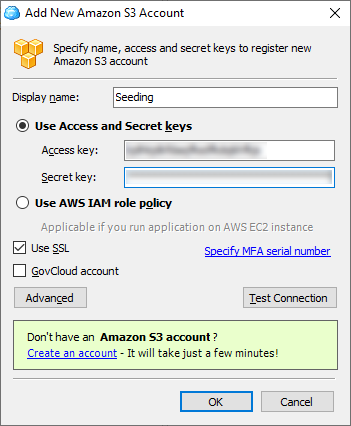
- After installing the CloudBerry Explorer, open it.
- Add a storage account with the target cloud credentials.
- You can create a new bucket if needed.
- Copy the contents of the external storage device to the bucket.
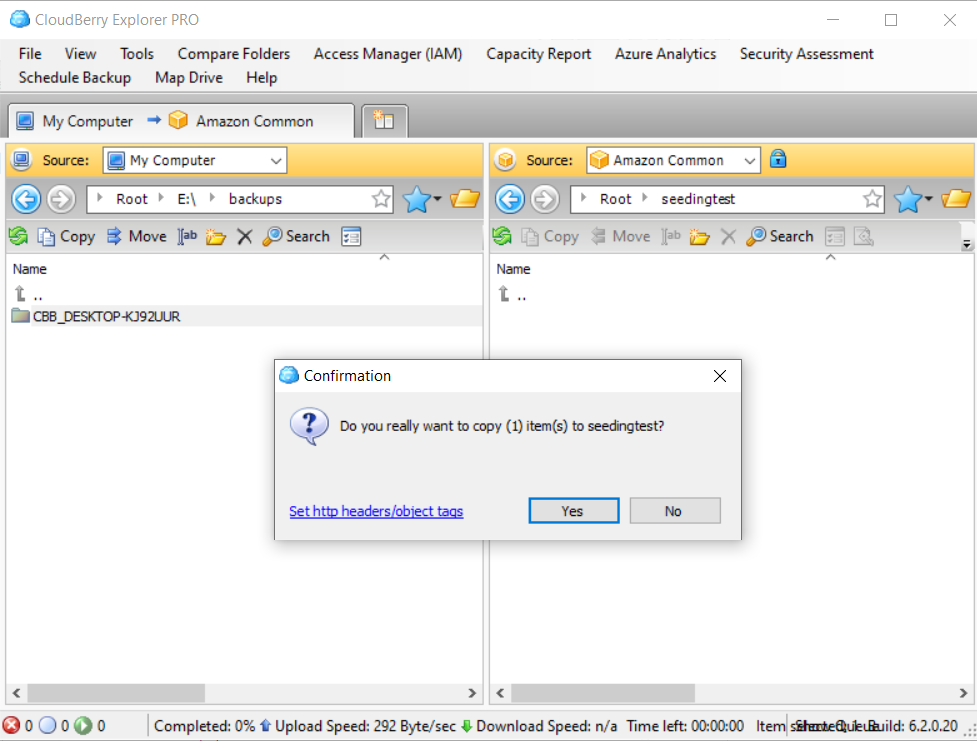
- Make sure all contents are on the cloud storage.
Continue Incremental Backups on Original Computer
As the full backup is copied to the cloud storage from a location with a fast connection, get back to the original computer.
- Run CloudBerry Backup.
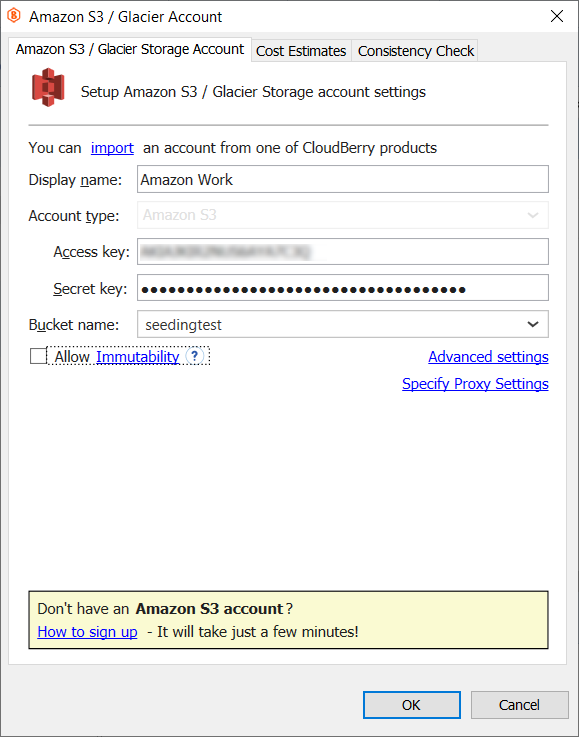
- Add the new storage account with the same credentials and bucket you used to copy data from the external device to the cloud storage.
- Find the backup plan you created in the Create Local Full Backup paragraph, then click Edit.
- On the Select Backup Storage tab, select the cloud storage account you added on step 2.

- Follow the backup wizard steps and configure all required settings.
- Save the backup plan.
- In the Tools menu, click Options.
- Switch to the Repository tab.
- Click Synchronize Repository, then select the storage account you added on step 2.
- Click Synchronize Now.
- Once the synchronization is done, run the backup plan you created to seed data.