Manage Drives
Add Existing Storage Account As Drive
To add a storage account as a drive, find the CloudBerry Drive icon in the system tray, click it, and go to the "Options" menu.
- On the Options window, click the Mapped Drives tab.
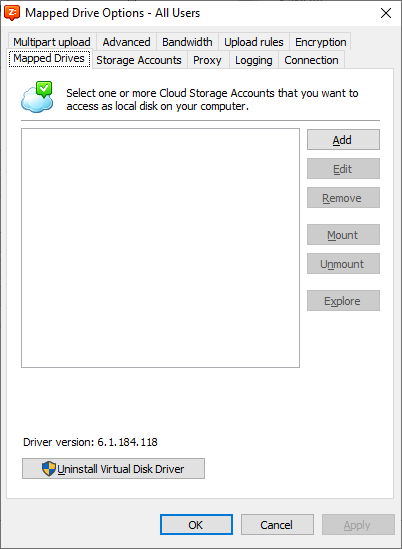
Click on "Add" button. At the opened "Mapped Drive Options" window select an existing account.
Specify a drive letter and volume label.
Specify the path to the certain folder in your bucket/container. It is not possible to add the root of a cloud account.
Click OK, then click "Yes" on question about mounting the new drive.
Select the following:
- whether the drive will be mounted at the system start up
- whether to use read-only access
- for Amazon S3 accounts only, select whether to use RRS (reduced redundancy storage) and SSE (server side encryption).
The last option of mapping is the mount type. You can use the drive as removable disc or network mapped drive. All of these options can be changed later.
Click Apply to save your changes.
Click OK to exit.
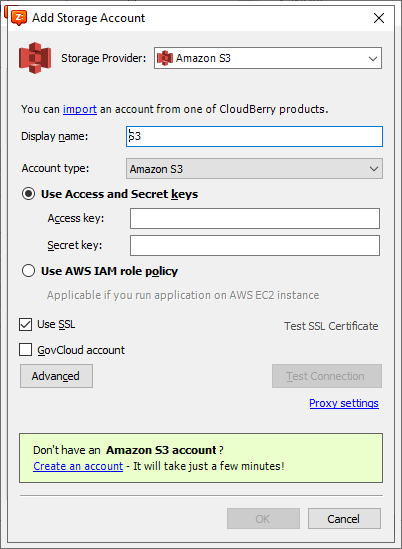
Register New Storage Account
To create a new storage account refer to appropriate chapter in Register Storage Account section
Import New Storage Account
If you do not currently have a CloudBerry account registered, you will be required to register it before using CloudBerry Drive. If you are an existing CloudBerry customer (e.g. CloudBerry Explorer), you will be able to import your existing account information into CloudBerry Drive.
- To import an account, on the Options window, click the Mapped Drives tab.
- Click on "Add" button. At the opened "Mapped Drive Options" window click the import link
- Select one of the CloudBerry products to import or use From file field On the Import Account screen, the From File field can be used to search your hard drive for the ".config" file from your other CloudBerry product.
Since the ".config" file has its own format, you should export the account settings into the “.config” file from another CloudBerry product. Click the button to the right of the field and select the ".config" file.
- Click the Import button.
Your account settings will be imported to the new account.
Mount Drive
Once you have added a storage account, you will be prompted to mount it. You can mount it immediately or later using Mount and Unmount buttons in the Mapped Drives tab of the Options window is the first way. Also you can mount and unmount drives by using the CLI (command line interface). Use the commands mountDrive and unmountDrive. For more information refer to Create Mapped Drive